Prerequisites
- Flipt v2
- A Flipt v2 environment configured with Git Sync
- Secrets management configured
- A Flipt v2 Pro license or trial license
This guide uses GitHub as an example, but the process is similar for GitLab,
Gitea, and other Git providers.
1. Generate a GPG Key
If you don’t have a GPG key, create one specifically for Flipt:2. Export the Private Key
Export your private key for storage in your secrets provider:3. Store Key in Secrets Provider
Store the private key securely using your configured secrets provider: Vault Example:4. Upload Public Key to GitHub
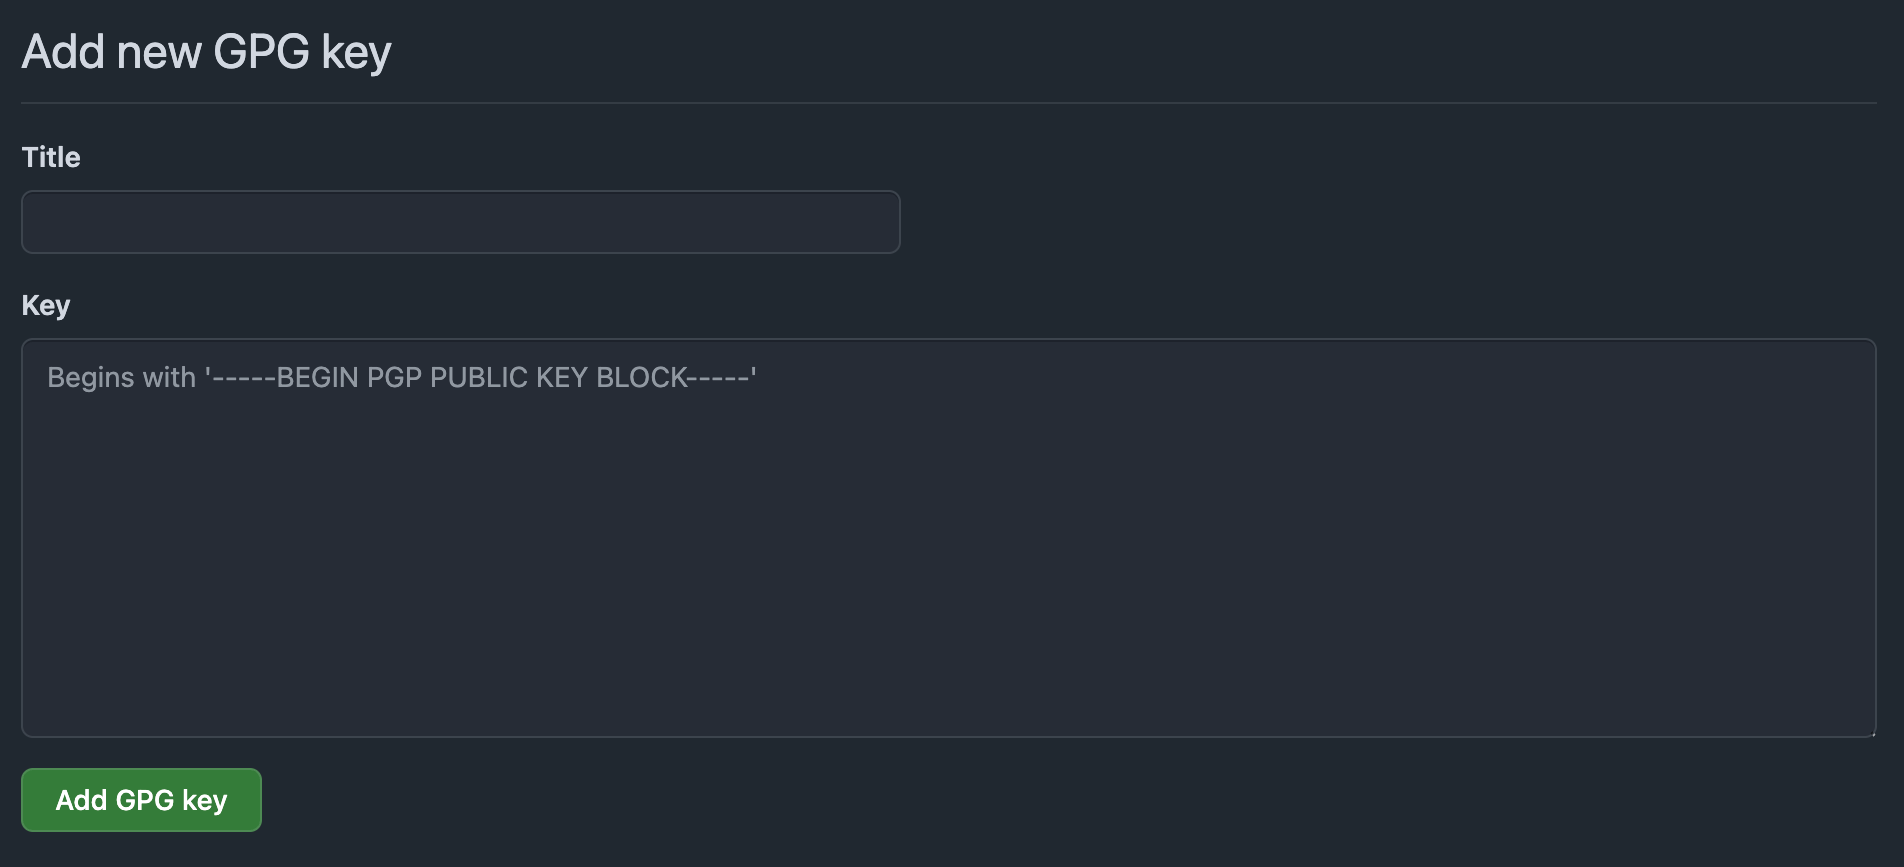
- Export your public key:
- Go to GitHub Settings > SSH and GPG keys
- Click “New GPG key”
- Copy and paste the contents of
flipt-public-key.asc - Click “Add GPG key”
5. Configure Flipt
Add commit signing configuration to your Flipt configuration file:6. Deploy and Start Flipt
Deploy your updated configuration and start or restart your Flipt server. Flipt will now automatically sign all commits to your flag configuration repository.7. Verify Commit Signing
After enabling signing, verify that new commits are being signed:GitHub Verification
On GitHub, signed commits will display:- ✅ Verified badge next to the commit
- GPG key information when clicking the badge
- Signature details in the commit view
Troubleshooting
Commits Not Showing as Verified
If commits aren’t showing as verified:- Check public key upload: Ensure the public key is added to your Git hosting service
- Verify email match: The email in the GPG key must match the configured email
- Confirm key validity: Ensure the GPG key hasn’t expired
- Check key ID: Verify the key_id matches your actual GPG key
Common Issues
Signing Failures- Verify the key exists in your secrets provider
- Check the key reference path and key name
- Ensure the secrets provider is accessible
- Verify secrets provider connectivity
- Check authentication credentials for your secrets provider
- Ensure the private key is in valid ASCII armored format
- Verify Flipt has the necessary permissions in your secrets provider
- Check authentication method configuration
- Review access policies for the signing key secret
Debug Configuration
Enable debug logging to troubleshoot signing issues:Validation Commands
Test your GPG key setup:Conclusion
This guide showed how to configure GPG commit signing for Flipt v2 with GitHub. Your flag configuration changes will now be cryptographically signed, providing enhanced security and audit capabilities. You can now use Flipt to manage your flags with verified commit signatures that prove the authenticity and integrity of your configuration changes. If you have any questions or feedback, please reach out to the Flipt team on Discord or GitHub Discussions.References: