Role-based access control (RBAC) is not a feature of Flipt itself but rather a
pattern that can be implemented using Flipt’s authorization system via OPA.
What You’ll Learn
- 🔒 How to set up Keycloak for authorization
- 🔑 How to create a Rego policy for RBAC with Flipt
- ⚙️ How to configure Flipt to use the policy for authorization
Prerequisites
For this guide, you will need:- Docker
- Follow the Login with Keycloak guide to set up Keycloak for authentication
Setting Up Keycloak
To set up Keycloak for authorization, you’ll first need to create a new realm, client, and user.1. Follow the Login with Keycloak Guide
Follow the Login with Keycloak guide to set up Keycloak for authentication. This guide will walk you through setting up Keycloak and creating a realm, client, and user that you will use for this guide.
2. Create a Realm Role
- Login to Keycloak as an admin user.
- Click on the
Realm Rolestab. - Click
Create Role. - Enter
developeras the role name and description and clickSave.

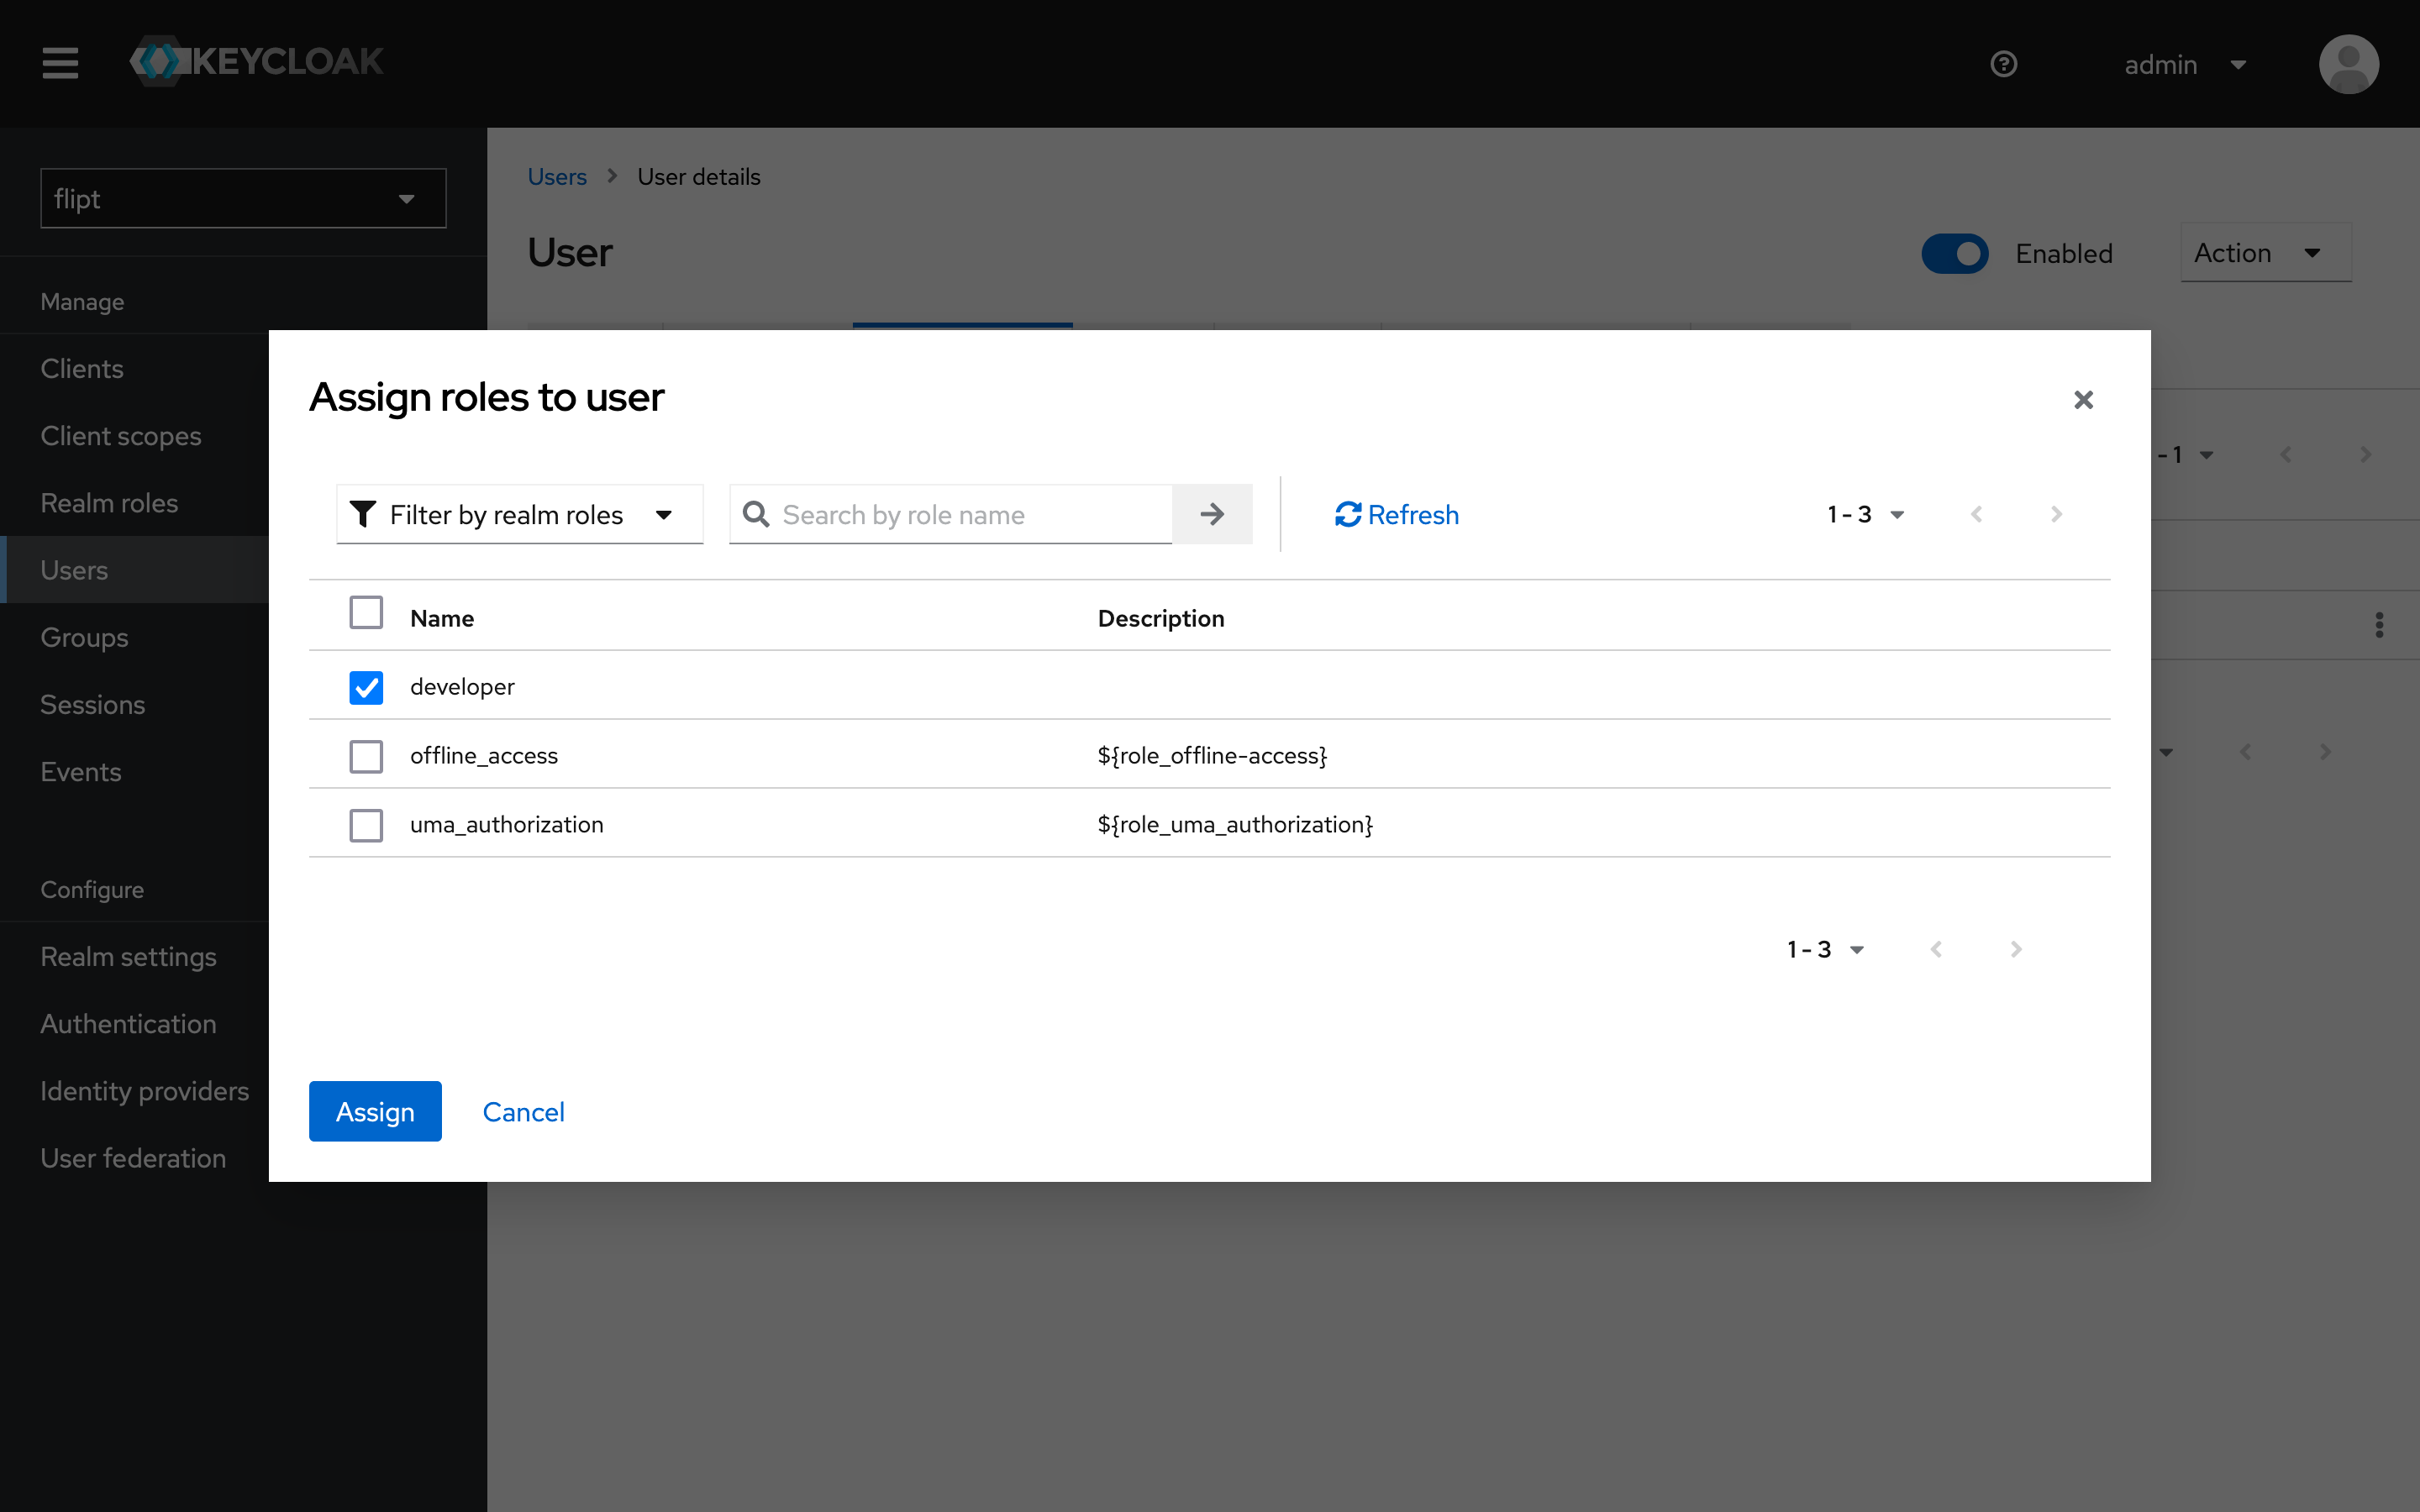
3. Assign the Role to a User
- Click on the
Userstab. - Click on the
useruser. - Click on the
Role Mappingstab. - Click
Assign Role. - Select the
developerrole and clickAssign.
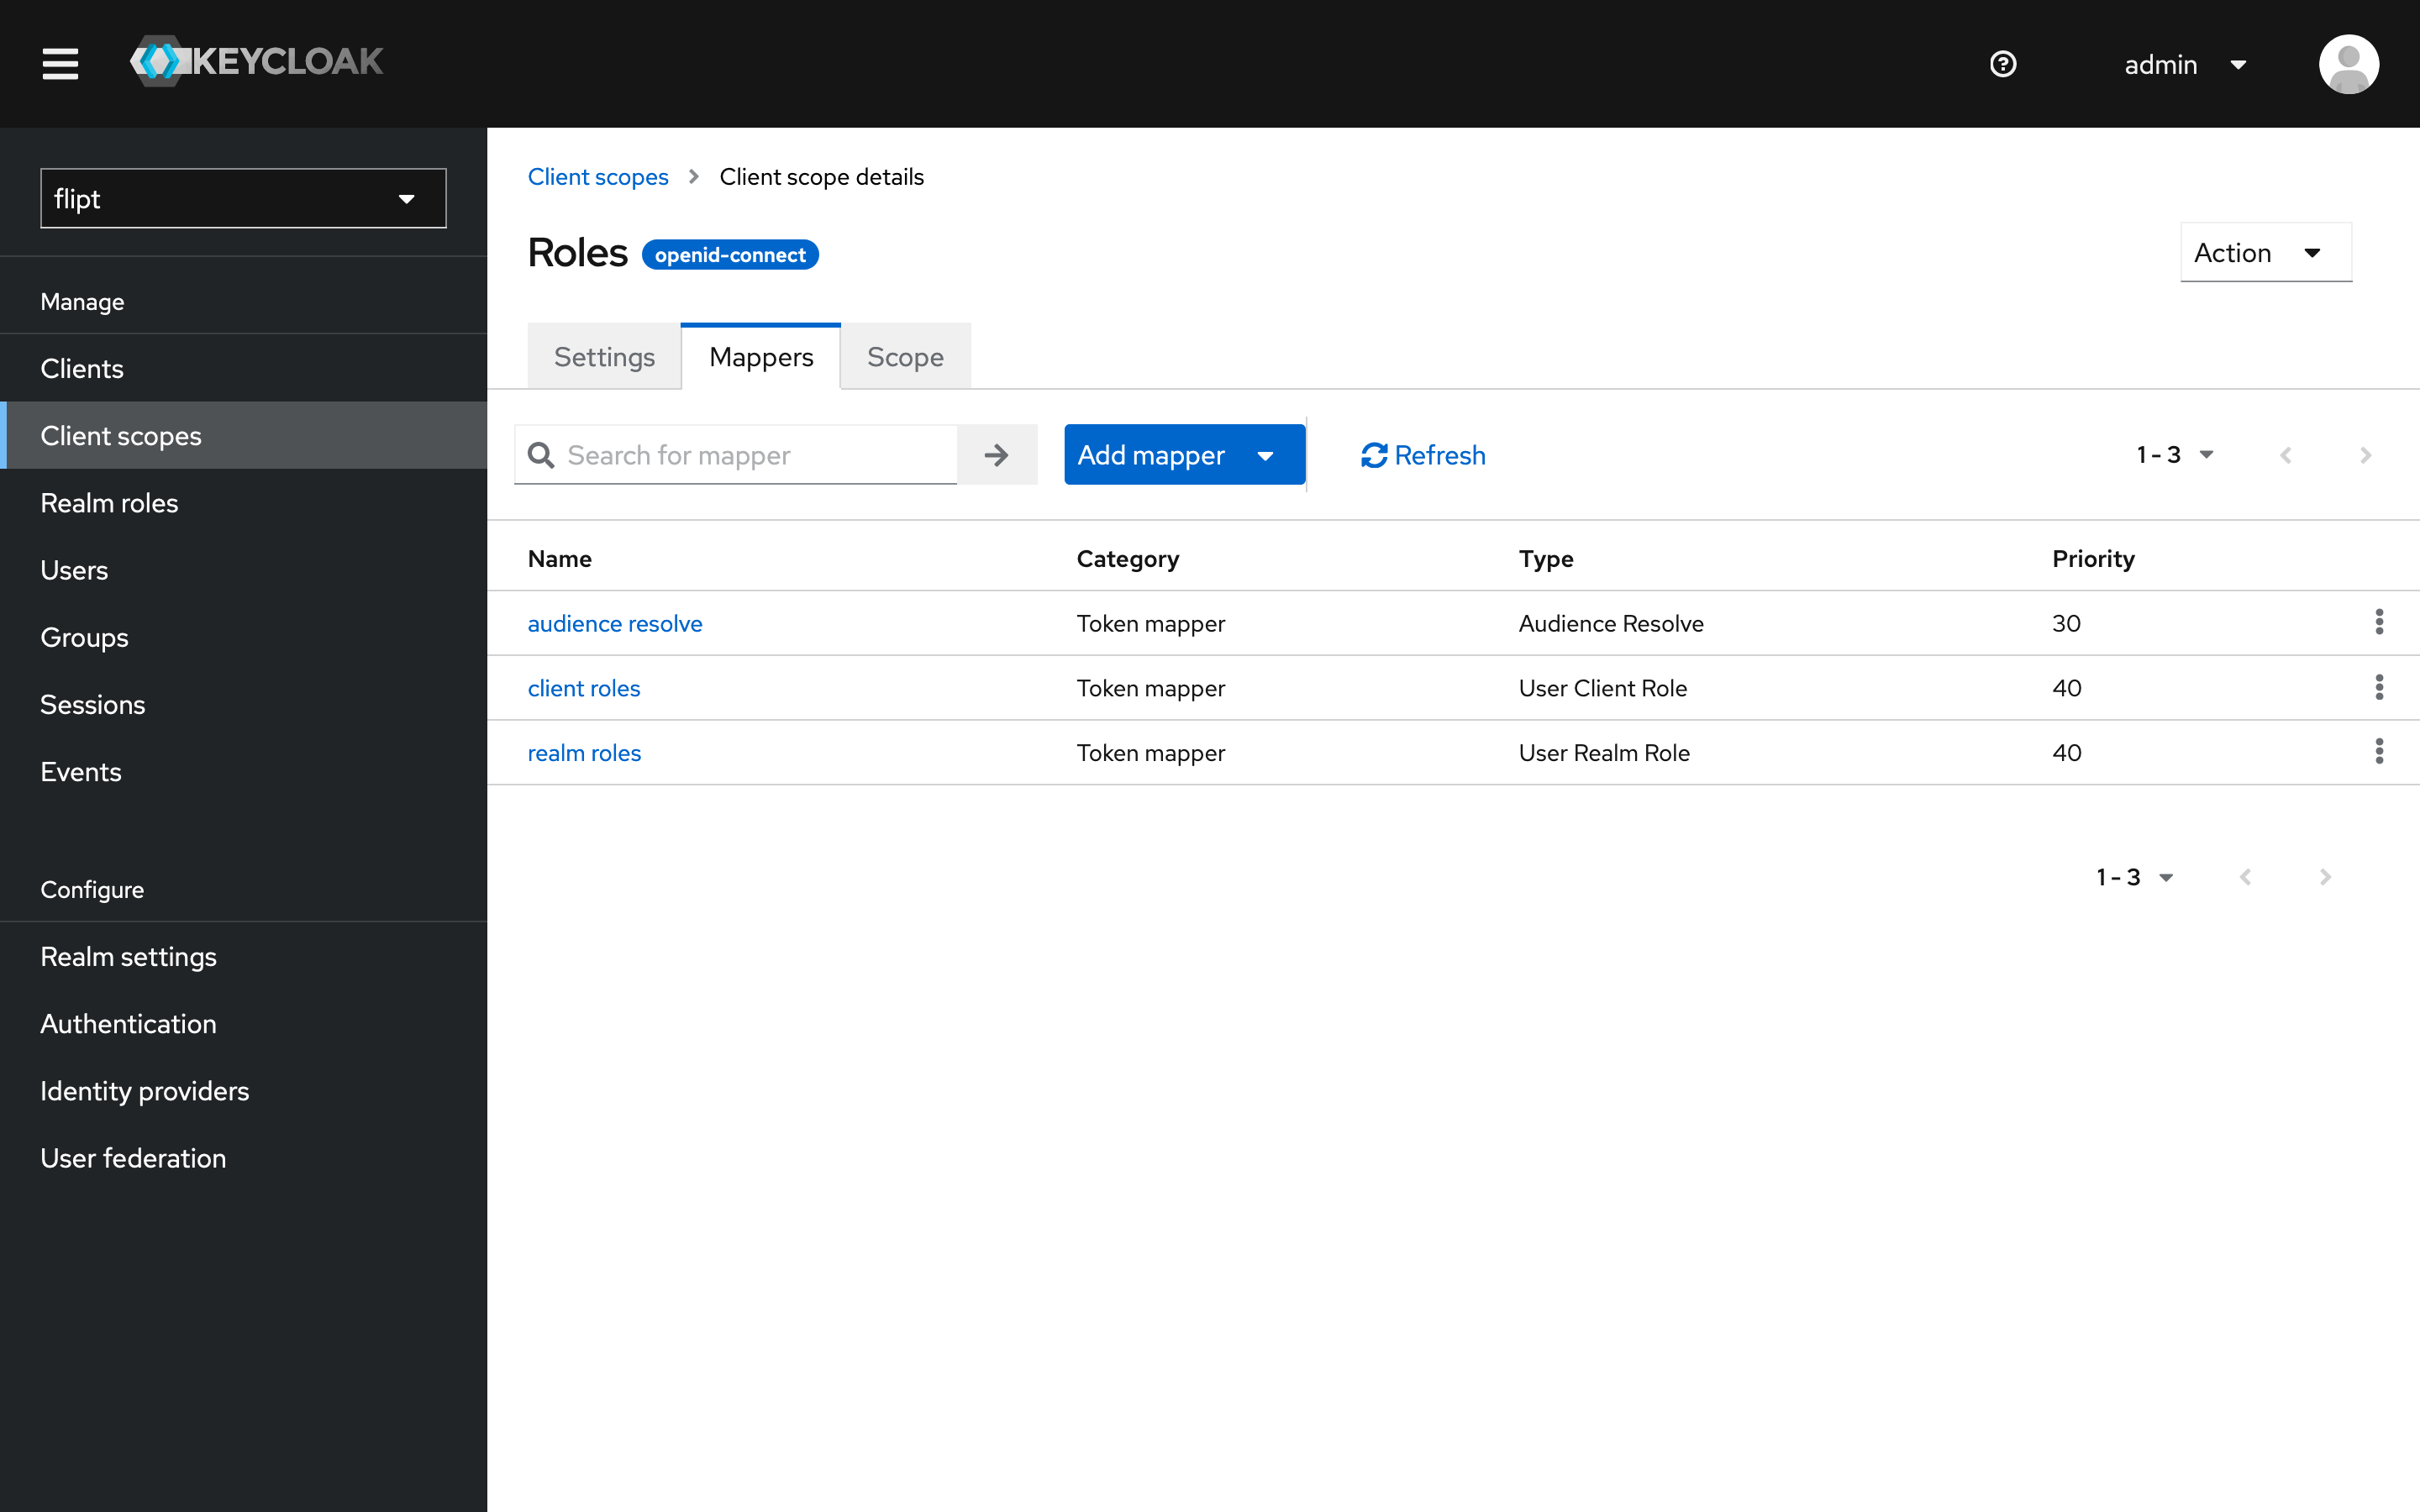
4. Map Client Scopes
Map theroles scope to the flipt client:
- Click on the
Clients Scopestab. - Click on
rolesin the list of client scopes. - Click on the
Mapperstab. - Click on
realm rolesin the list of mappers.
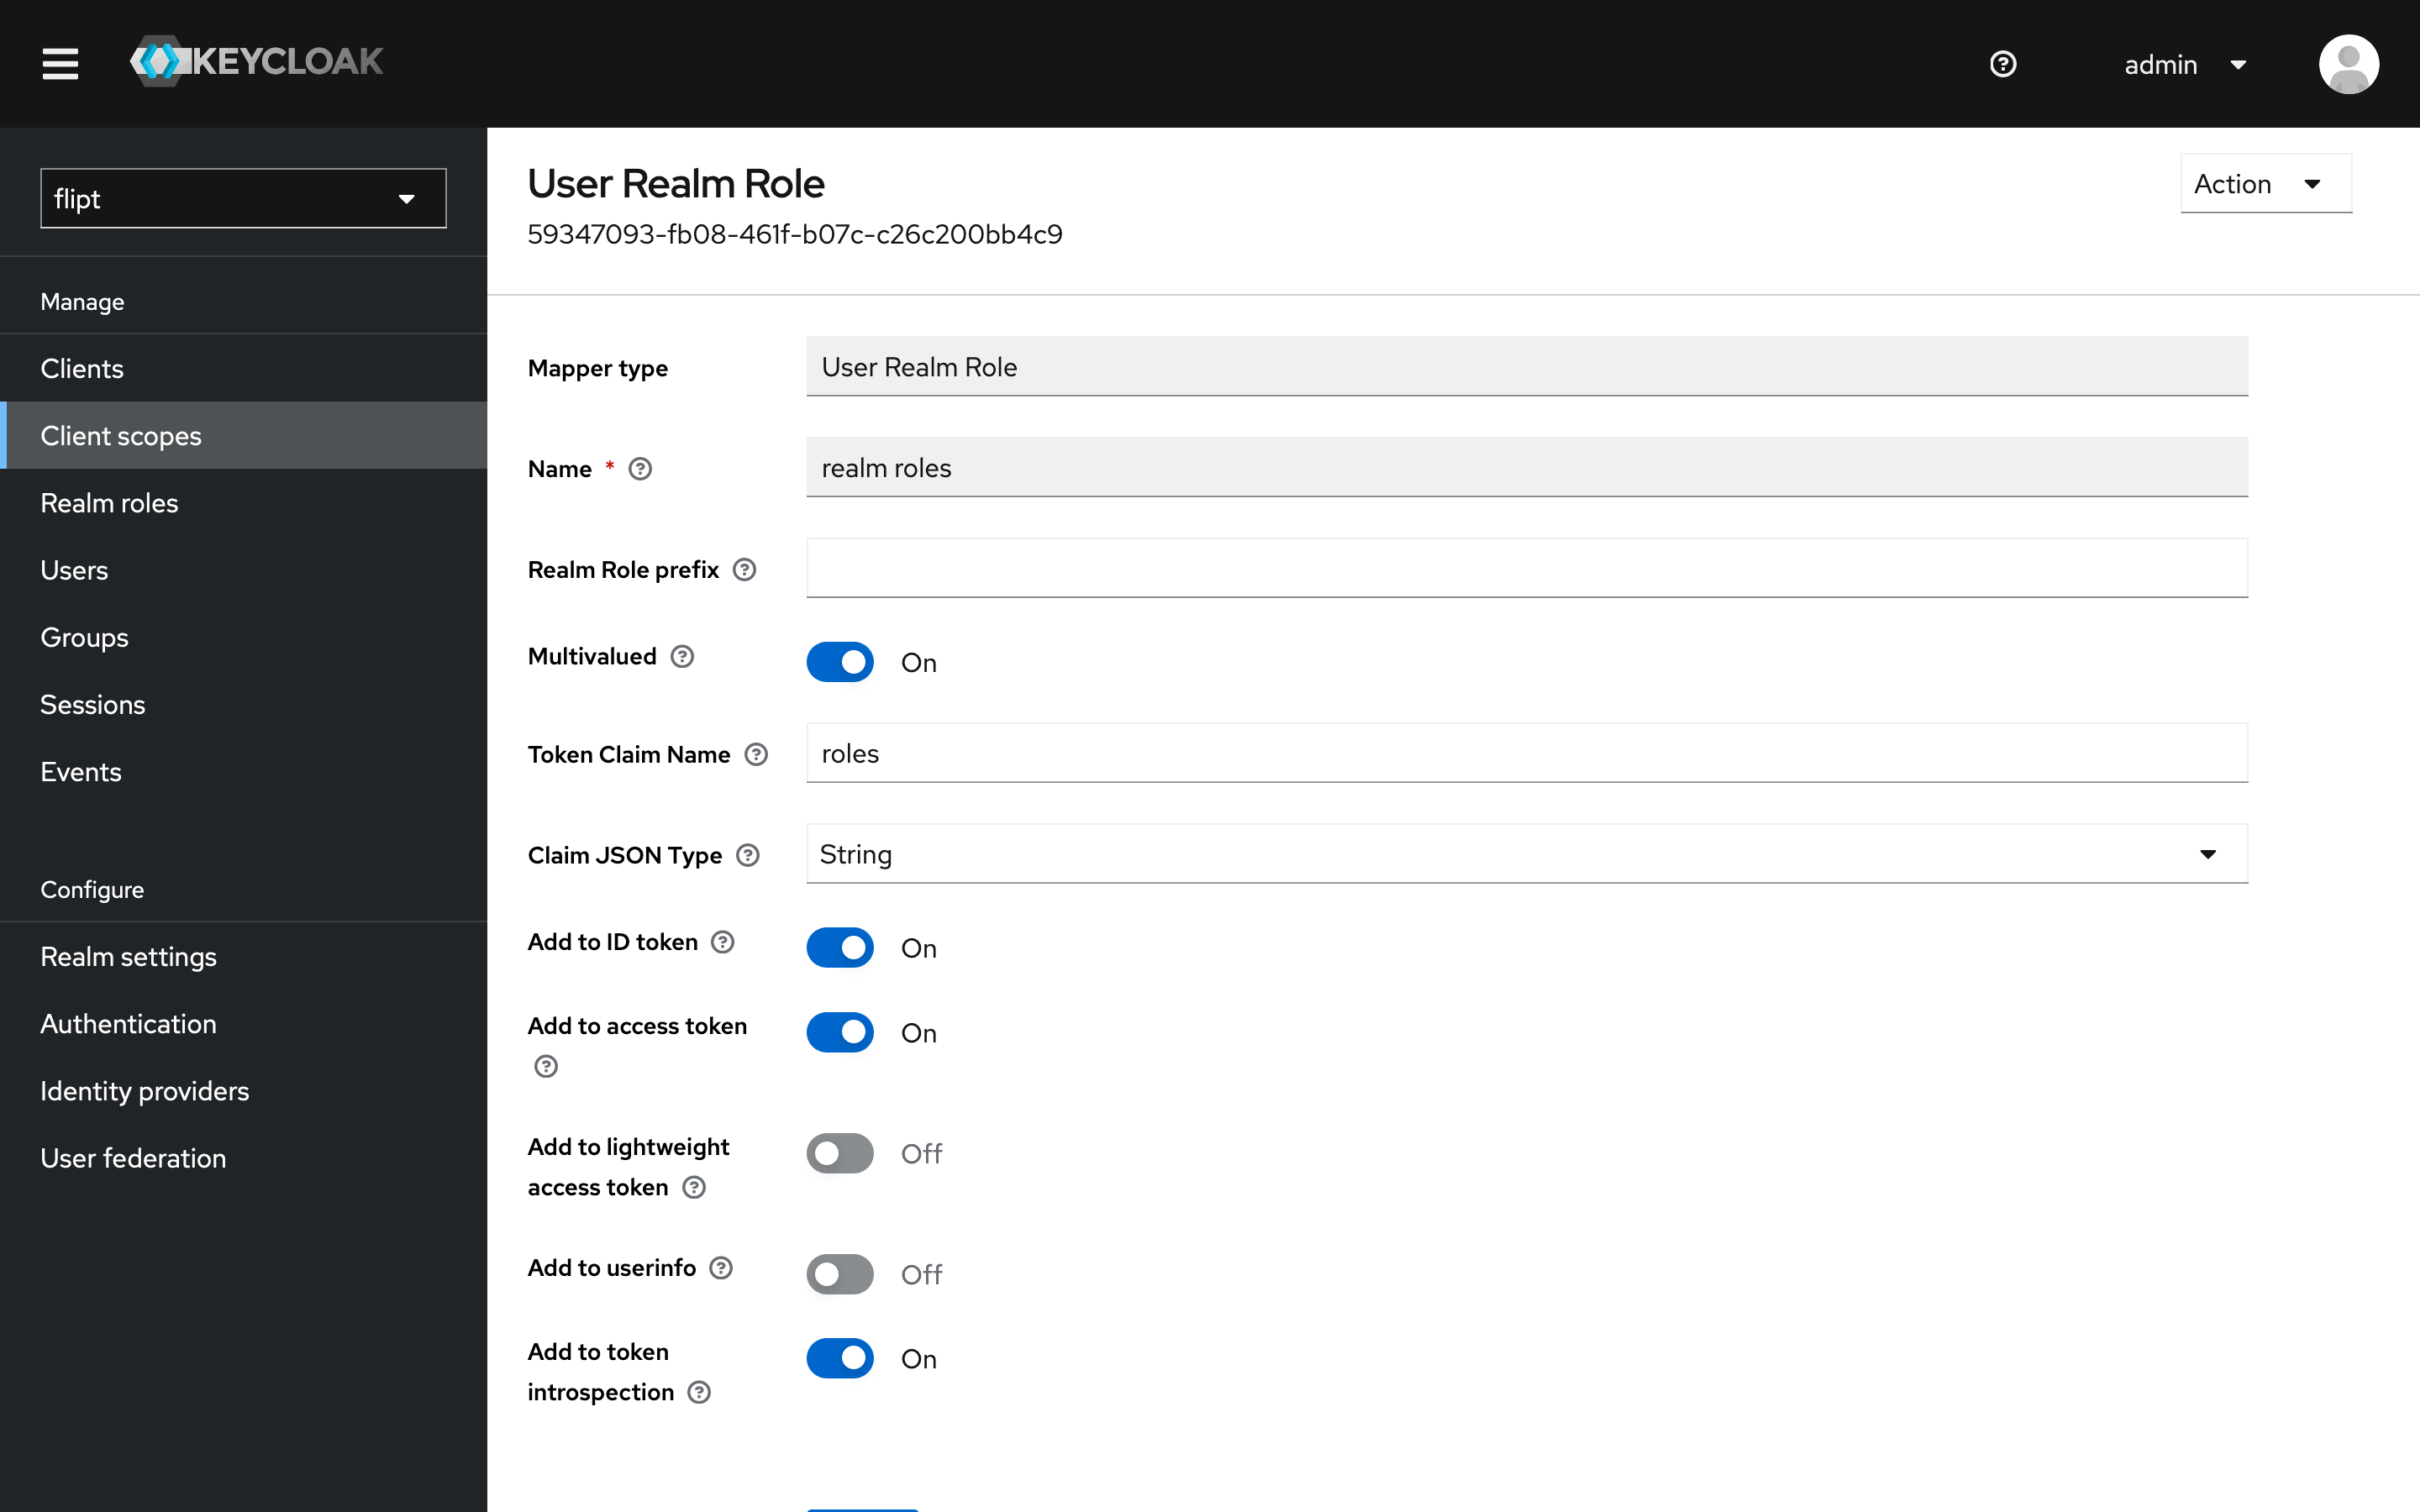
- Set the
Token Claim Namefield to something short likeroles. - Set the
Claim JSON Typefield toString. - Toggle on
Add to ID token. - Click
Save.
Configuring RBAC in Flipt
To configure RBAC with Flipt, you will need to define a Rego policy that enforces the roles and permissions for your organization. Here’s an example of a simple policy that checks whether a user has thedeveloper role:
policy.rego
developer role. If the user has the developer role, the policy will allow the request. Otherwise, the request will be denied.
The authentication input is provided by Flipt to OPA and contains the authentication information for the request. This information is specific to the authentication method used to authenticate the request.
More complex policies can be defined to enforce fine-grained access control based on your organization’s requirements. For example, you could define policies that check for specific roles and permissions for different resources or actions.
An example policy that allows users with the developer role to have full access to the Management API and users with the viewer role to have read-only access might look like this:
policy.rego
1. Write the Rego Policy
- Create a new file called
policy.regowith the following content:
policy.rego
2. Configure Flipt to Use the Policy
Update theflipt.yaml configuration file from the Login with Keycloak guide to enable authorization and specify the path to the Rego policy file:
flipt.yaml
3. Run Flipt
You can now start your Flipt instance using the following command:Testing the Policy
To test the policy, login to Flipt using the user you created in Keycloak. If the user has thedeveloper role, they should be able to access the Flipt Management API.
You can create a new user in Keycloak that does not have the developer role to test that the policy is working as expected.
If the user does not have the developer role, they should receive an error message in the UI or API response.
