What You’ll Learn
In this guide, you will learn how to deploy Flipt to Fly.io with Postgres. You’ll also learn how to configure Flipt with environment variables. By the end of this guide, we will have:- 🚀 Successfully deployed Flipt to Fly.io
- 🐘 Configured Flipt with environment variables to use Fly.io’s managed Postgres service
Prerequisites
- A Fly.io account (Sign up: https://fly.io)
flyctlCLI installed on your local machine (Installation guide: https://fly.io/docs/getting-started/installing-flyctl/)
Deployment Steps
- Ensure you can log in to your Fly.io account with
fly auth login. - Create and
cdinto a new directory for your Flipt deployment. (e.g.mkdir flipt-test && cd flipt-test) - Begin the launch process to deploy Flipt on Fly.io using their CLI, selecting mainly the defaults and Postgres when prompted:
-
After the launch process completes, it will write a
fly.tomlfile to your current directory. You can configure the number of instances, memory, and CPU allocated to your Flipt deployment. You can also set environment variables to customize Flipt’s configuration. For more information, refer to the Fly.io documentation and the Flipt documentation. -
Before deploying Flipt, we’ll need to set the
FLIPT_DB_URLsecret to point to your newly configured Postgres database. You can do this with the following command, replacing<your-db-url>with the connection string from the launch process and appending the db name (postgres) and?sslmode=disable:
- Finally, deploy Flipt to Fly.io with
fly deploy.
Verifying the Deployment
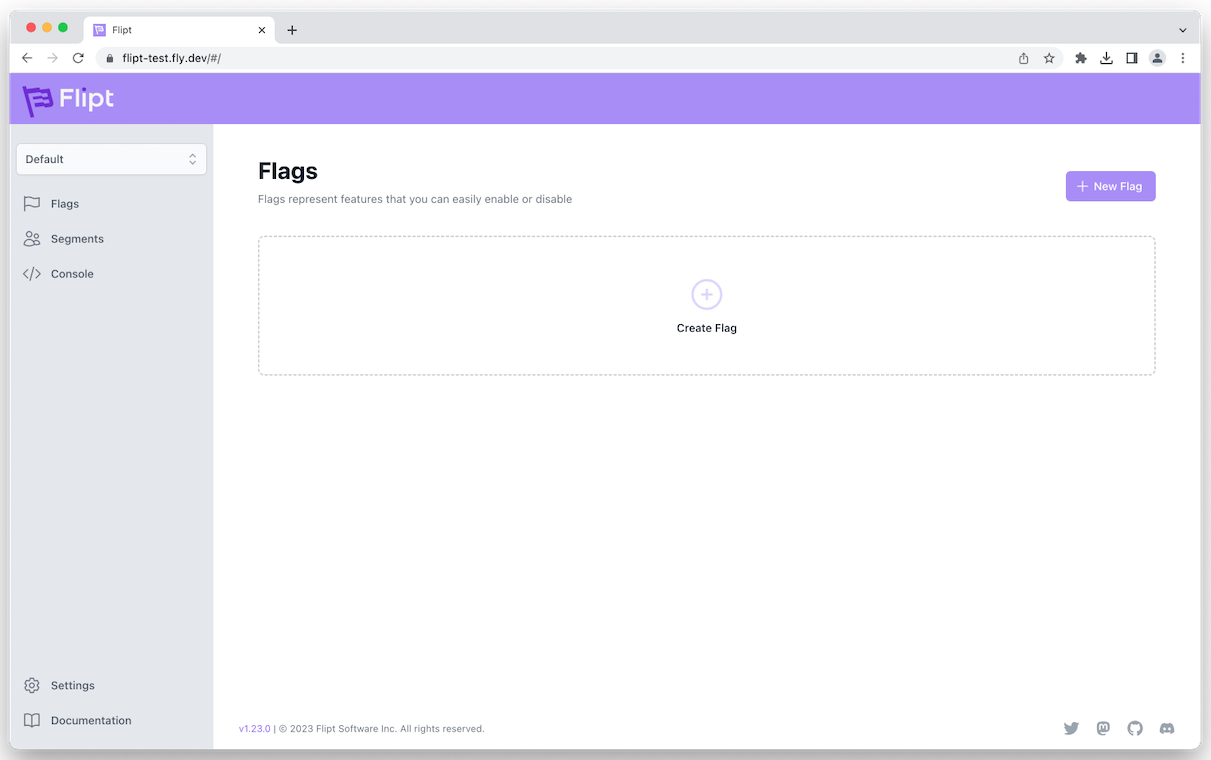
After deployment, you can verify if Flipt is running correctly by accessing the Flipt UI on the provided Fly.io URL or issue the commandfly open in the CLI to open your newly deployed Flipt instance in the browser.

Configuration
You can configure Flipt with environment variables in thefly.toml file. For example, to configure Flipt to use a custom port and enable DEBUG logging you can add the following to the fly.toml file:
fly.toml
fly.toml file, you can deploy the changes with fly deploy.