> ## Documentation Index
> Fetch the complete documentation index at: https://docs.flipt.io/llms.txt
> Use this file to discover all available pages before exploring further.
# Login with GitHub
> Configuring Flipt v2 to enable login with GitHub via OAuth 2.0
This guide will serve as a walk-through on how to set up Flipt v2 to enable login with GitHub via OAuth 2.0.
## Prerequisites
* [Docker](https://www.docker.com/)
* [A GitHub Account](https://github.com/)
## Brief Explanation of OAuth 2.0
OAuth 2.0 is an authentication standard whose goal is to allow 3rd party applications to access authorized resources from a provider. It relies on the user explicitly granting access to the 3rd party application to issue a token on behalf of the OAuth 2.0 provider for authorized use.
Unlike OIDC, OAuth 2.0 does not have a standardized identity layer, which means the process of retrieving identity information varies between providers. Users should consult their OAuth 2.0 provider's documentation to understand the specific methods for retrieving identity information.
## Creating a GitHub OAuth 2.0 Application
1. Navigate to your GitHub account, and click on `Settings` under the menu of your Profile icon
2. At the bottom of the menu on the left, click on the menu option titled `Developer Settings`
3. This should bring you to a page that has `OAuth Apps` as a menu option on the left, click on that and click `New OAuth App` to start creating the application
4. You should be brought to a page that looks like the image below, and can start filling out the information:
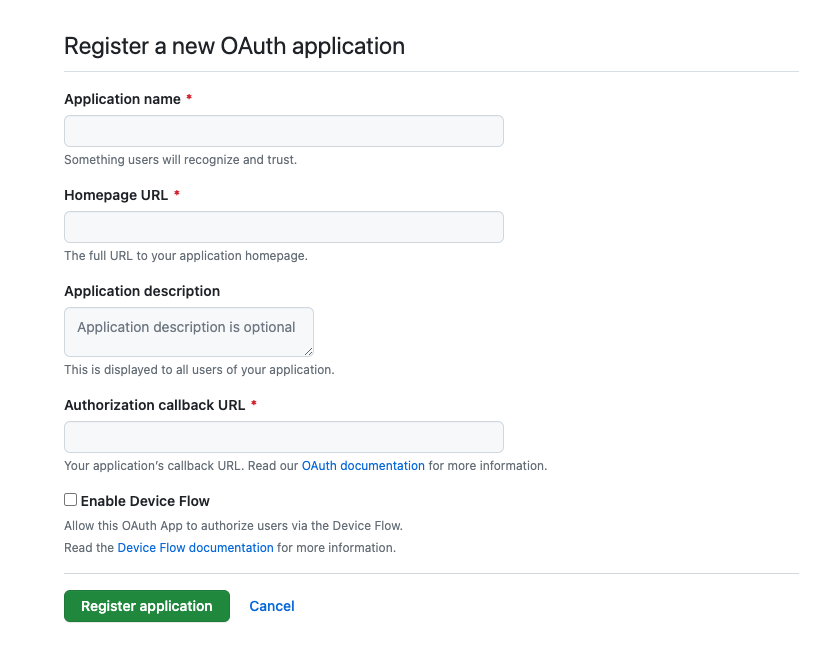 * `Application Name`: Give your application a meaningful name like "Flipt"
* `Homepage URL`: Usually Flipt will be used internally by organizations, so this value depends on how you plan to expose Flipt. When in doubt you can just use the URL to your organization's home page
* `Authorization callback URL`: For this value, you'll need your Flipt URL followed by `/auth/v1/method/github/callback`.
We're using `localhost:8080` here for illustration purposes. In a production
setting, you would use whichever accessible domain name you have configured
for your Flipt deployment. These values can always be changed later after the
creation of the application.
5. Retrieve the `Client ID` and `Client Secret` from the created OAuth 2.0 app
The Client ID should already be provided to you. You will have to generate a client secret. Click on the `Generate a new client secret` button (it may ask you to authenticate again with GitHub).
## Running Flipt
### 1. Define a Flipt `config.yml`
Flipt relies on configuration that the user provides for many bits of functionality. To enable the Login With GitHub feature, you must define a configuration file `config.yml` with certain fields and values.
The [configuration documentation](/v2/configuration/authentication) goes into more detail on the configuration values available for authentication.
Configure your `config.yml` file to enable the GitHub authentication method.
```yaml theme={null}
authentication:
required: true
session:
domain: "localhost:8080"
secure: false
methods:
github:
enabled: true
client_id: ${env:FLIPT_GITHUB_CLIENT_ID}
client_secret: ${env:FLIPT_GITHUB_CLIENT_SECRET}
redirect_address: "http://localhost:8080"
scopes:
- user:email
```
The `client_id` and `client_secret` are going to be the values from your GitHub OAuth application. The `redirect_address` will be `http://localhost:8080`. The `scopes` are entirely dependent on what level of access you would like the returned GitHub access token to have. The [GitHub documentation](https://docs.github.com/en/apps/oauth-apps/building-oauth-apps/scopes-for-oauth-apps) describes a list of valid scopes.
The last bit of configuration is the session details. In order for the browser to establish a session to communicate with Flipt in an authenticated way, you must provide access details in an HTTP cookie whose value is a static token created by Flipt. This static token is created during the GitHub OAuth 2.0 flow, and associated with the GitHub metadata retrieved from the GitHub API with the access token. The `domain` value will specify which host can receive the cookie.
### 2. Run Flipt as a Docker container
```bash theme={null}
docker run -it --rm \
-p 8080:8080 \
-p 9000:9000 \
-v $HOME/flipt:/var/opt/flipt \
-v "$(pwd)/config.yml:/etc/flipt/config/default.yml" \
docker.flipt.io/flipt/flipt:v2
```
This will mount both the data directory for persistent storage and the `config.yml` configuration file into the container at the standard location.
### 3. Navigate to the Flipt UI
Access the Flipt UI by typing in the `http://localhost:8080` URL in the address bar of a browser. You should see the following screen:
* `Application Name`: Give your application a meaningful name like "Flipt"
* `Homepage URL`: Usually Flipt will be used internally by organizations, so this value depends on how you plan to expose Flipt. When in doubt you can just use the URL to your organization's home page
* `Authorization callback URL`: For this value, you'll need your Flipt URL followed by `/auth/v1/method/github/callback`.
We're using `localhost:8080` here for illustration purposes. In a production
setting, you would use whichever accessible domain name you have configured
for your Flipt deployment. These values can always be changed later after the
creation of the application.
5. Retrieve the `Client ID` and `Client Secret` from the created OAuth 2.0 app
The Client ID should already be provided to you. You will have to generate a client secret. Click on the `Generate a new client secret` button (it may ask you to authenticate again with GitHub).
## Running Flipt
### 1. Define a Flipt `config.yml`
Flipt relies on configuration that the user provides for many bits of functionality. To enable the Login With GitHub feature, you must define a configuration file `config.yml` with certain fields and values.
The [configuration documentation](/v2/configuration/authentication) goes into more detail on the configuration values available for authentication.
Configure your `config.yml` file to enable the GitHub authentication method.
```yaml theme={null}
authentication:
required: true
session:
domain: "localhost:8080"
secure: false
methods:
github:
enabled: true
client_id: ${env:FLIPT_GITHUB_CLIENT_ID}
client_secret: ${env:FLIPT_GITHUB_CLIENT_SECRET}
redirect_address: "http://localhost:8080"
scopes:
- user:email
```
The `client_id` and `client_secret` are going to be the values from your GitHub OAuth application. The `redirect_address` will be `http://localhost:8080`. The `scopes` are entirely dependent on what level of access you would like the returned GitHub access token to have. The [GitHub documentation](https://docs.github.com/en/apps/oauth-apps/building-oauth-apps/scopes-for-oauth-apps) describes a list of valid scopes.
The last bit of configuration is the session details. In order for the browser to establish a session to communicate with Flipt in an authenticated way, you must provide access details in an HTTP cookie whose value is a static token created by Flipt. This static token is created during the GitHub OAuth 2.0 flow, and associated with the GitHub metadata retrieved from the GitHub API with the access token. The `domain` value will specify which host can receive the cookie.
### 2. Run Flipt as a Docker container
```bash theme={null}
docker run -it --rm \
-p 8080:8080 \
-p 9000:9000 \
-v $HOME/flipt:/var/opt/flipt \
-v "$(pwd)/config.yml:/etc/flipt/config/default.yml" \
docker.flipt.io/flipt/flipt:v2
```
This will mount both the data directory for persistent storage and the `config.yml` configuration file into the container at the standard location.
### 3. Navigate to the Flipt UI
Access the Flipt UI by typing in the `http://localhost:8080` URL in the address bar of a browser. You should see the following screen:
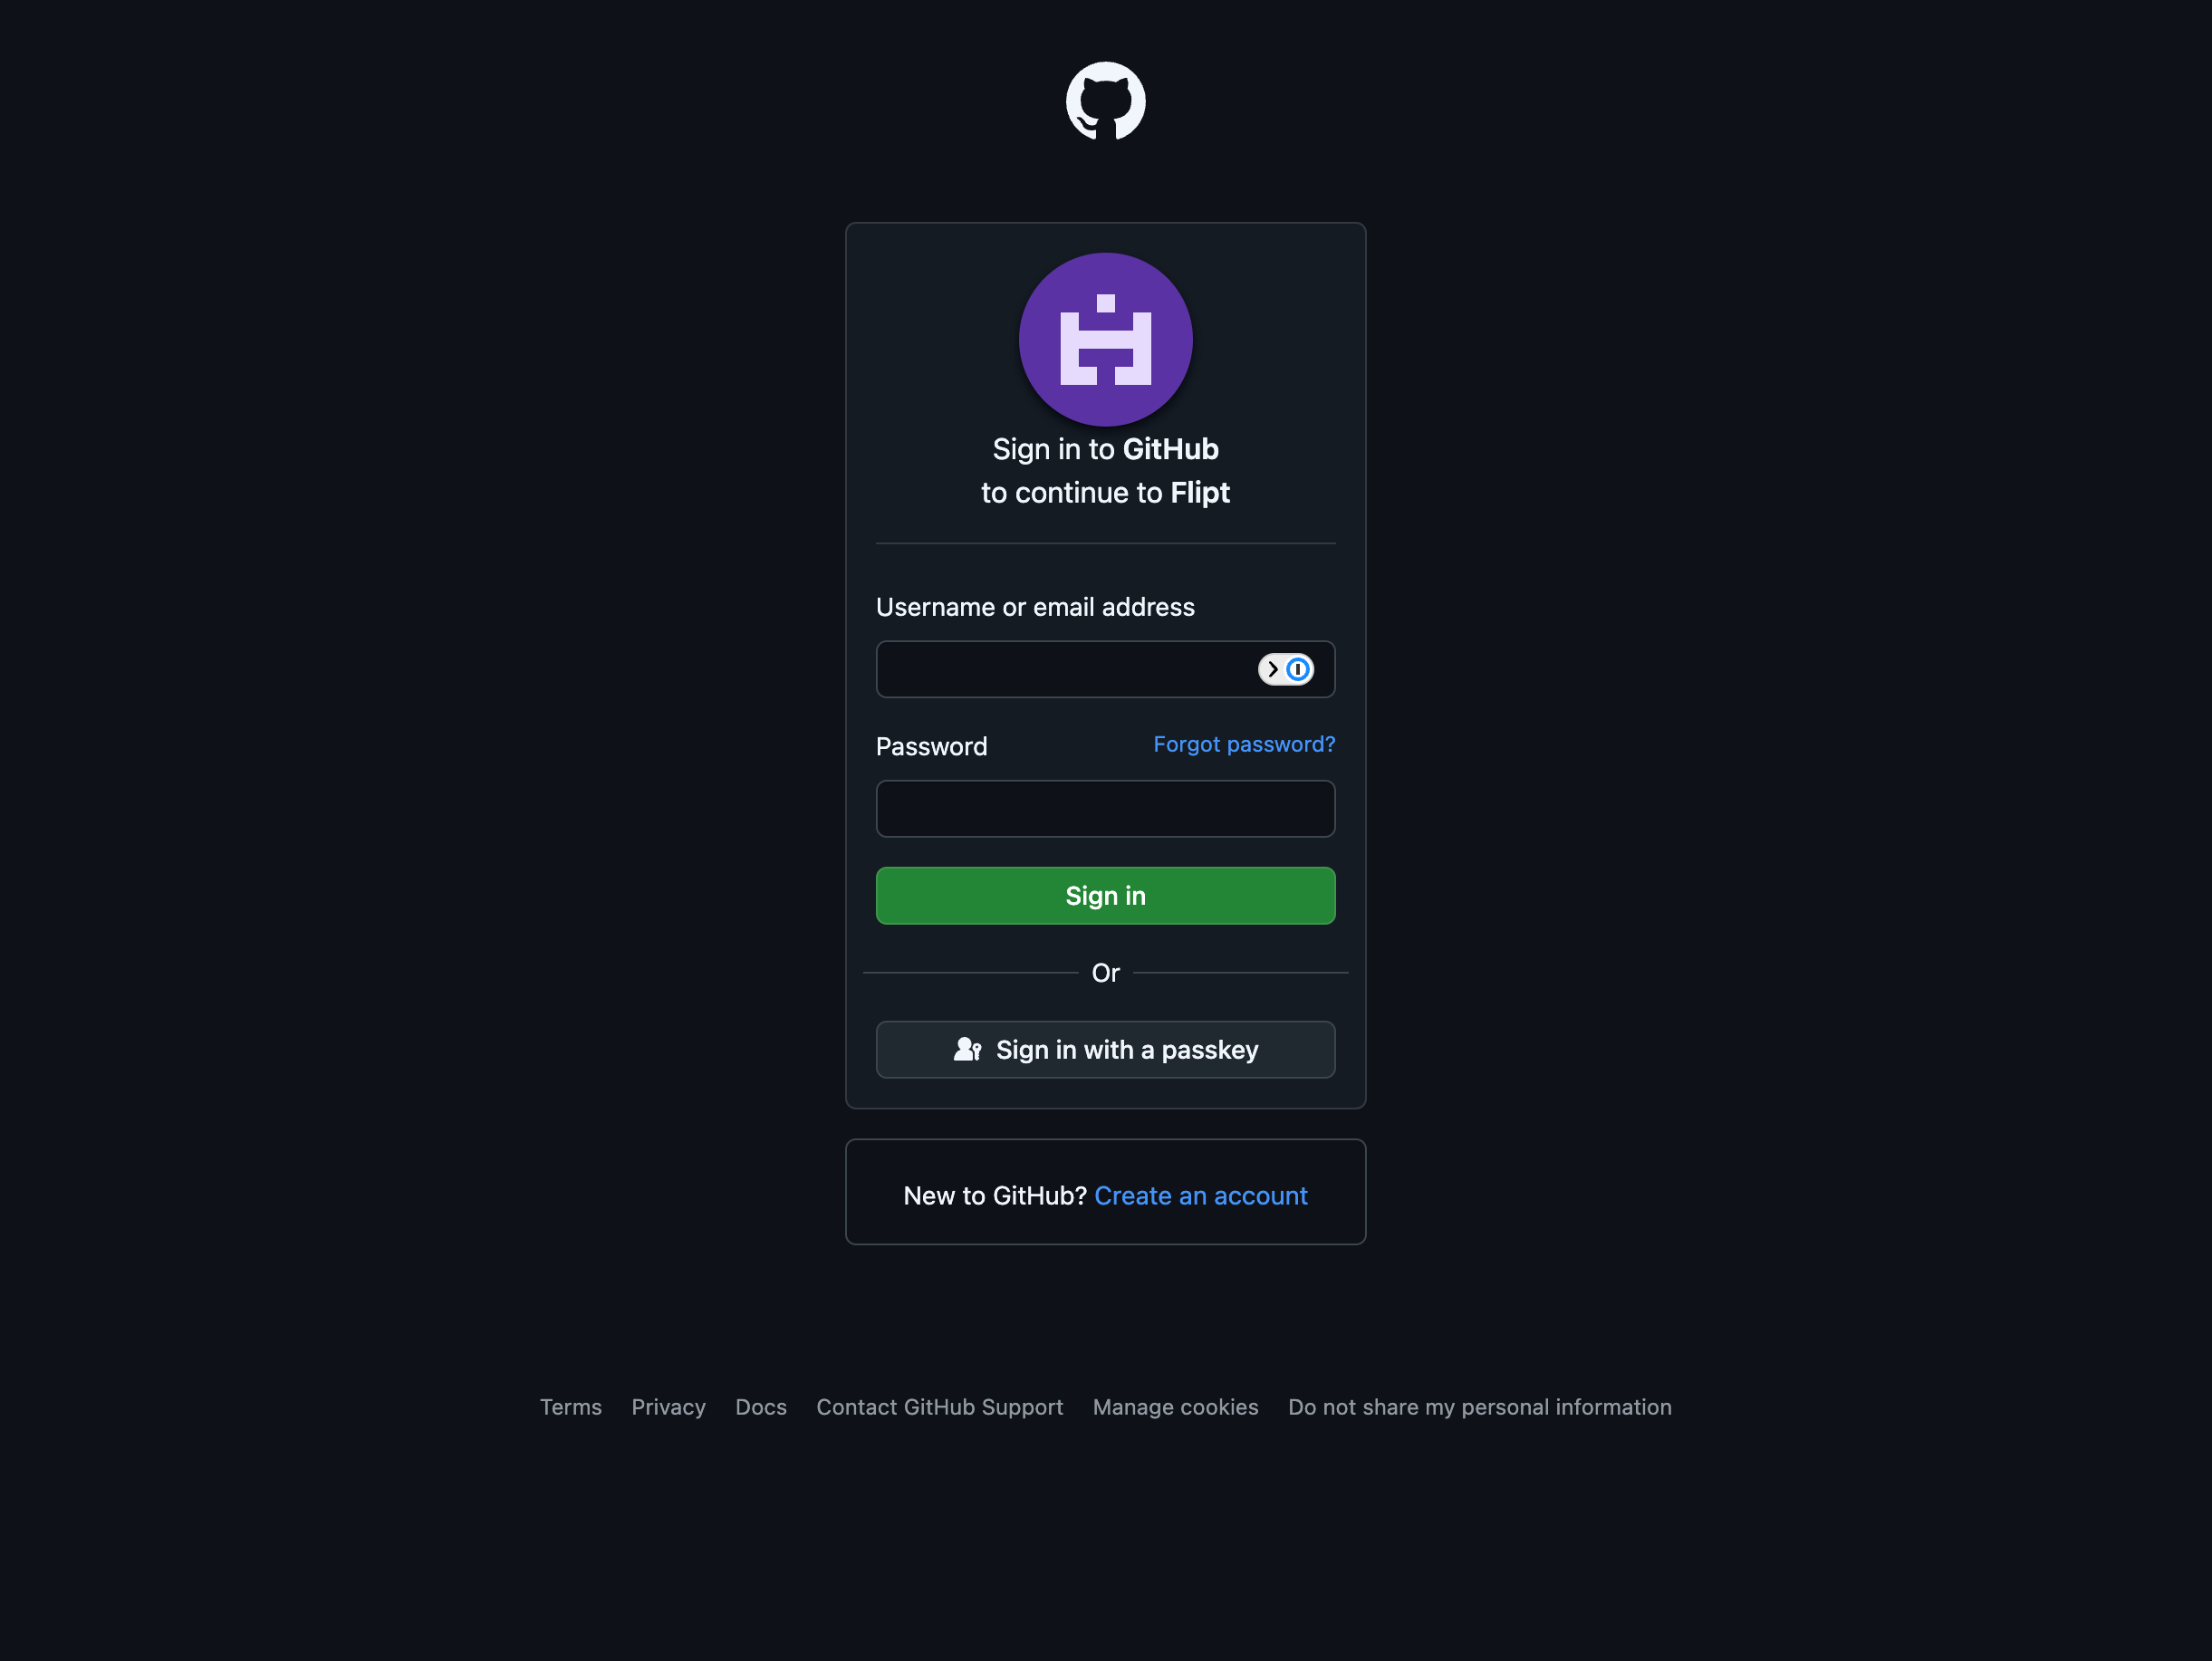
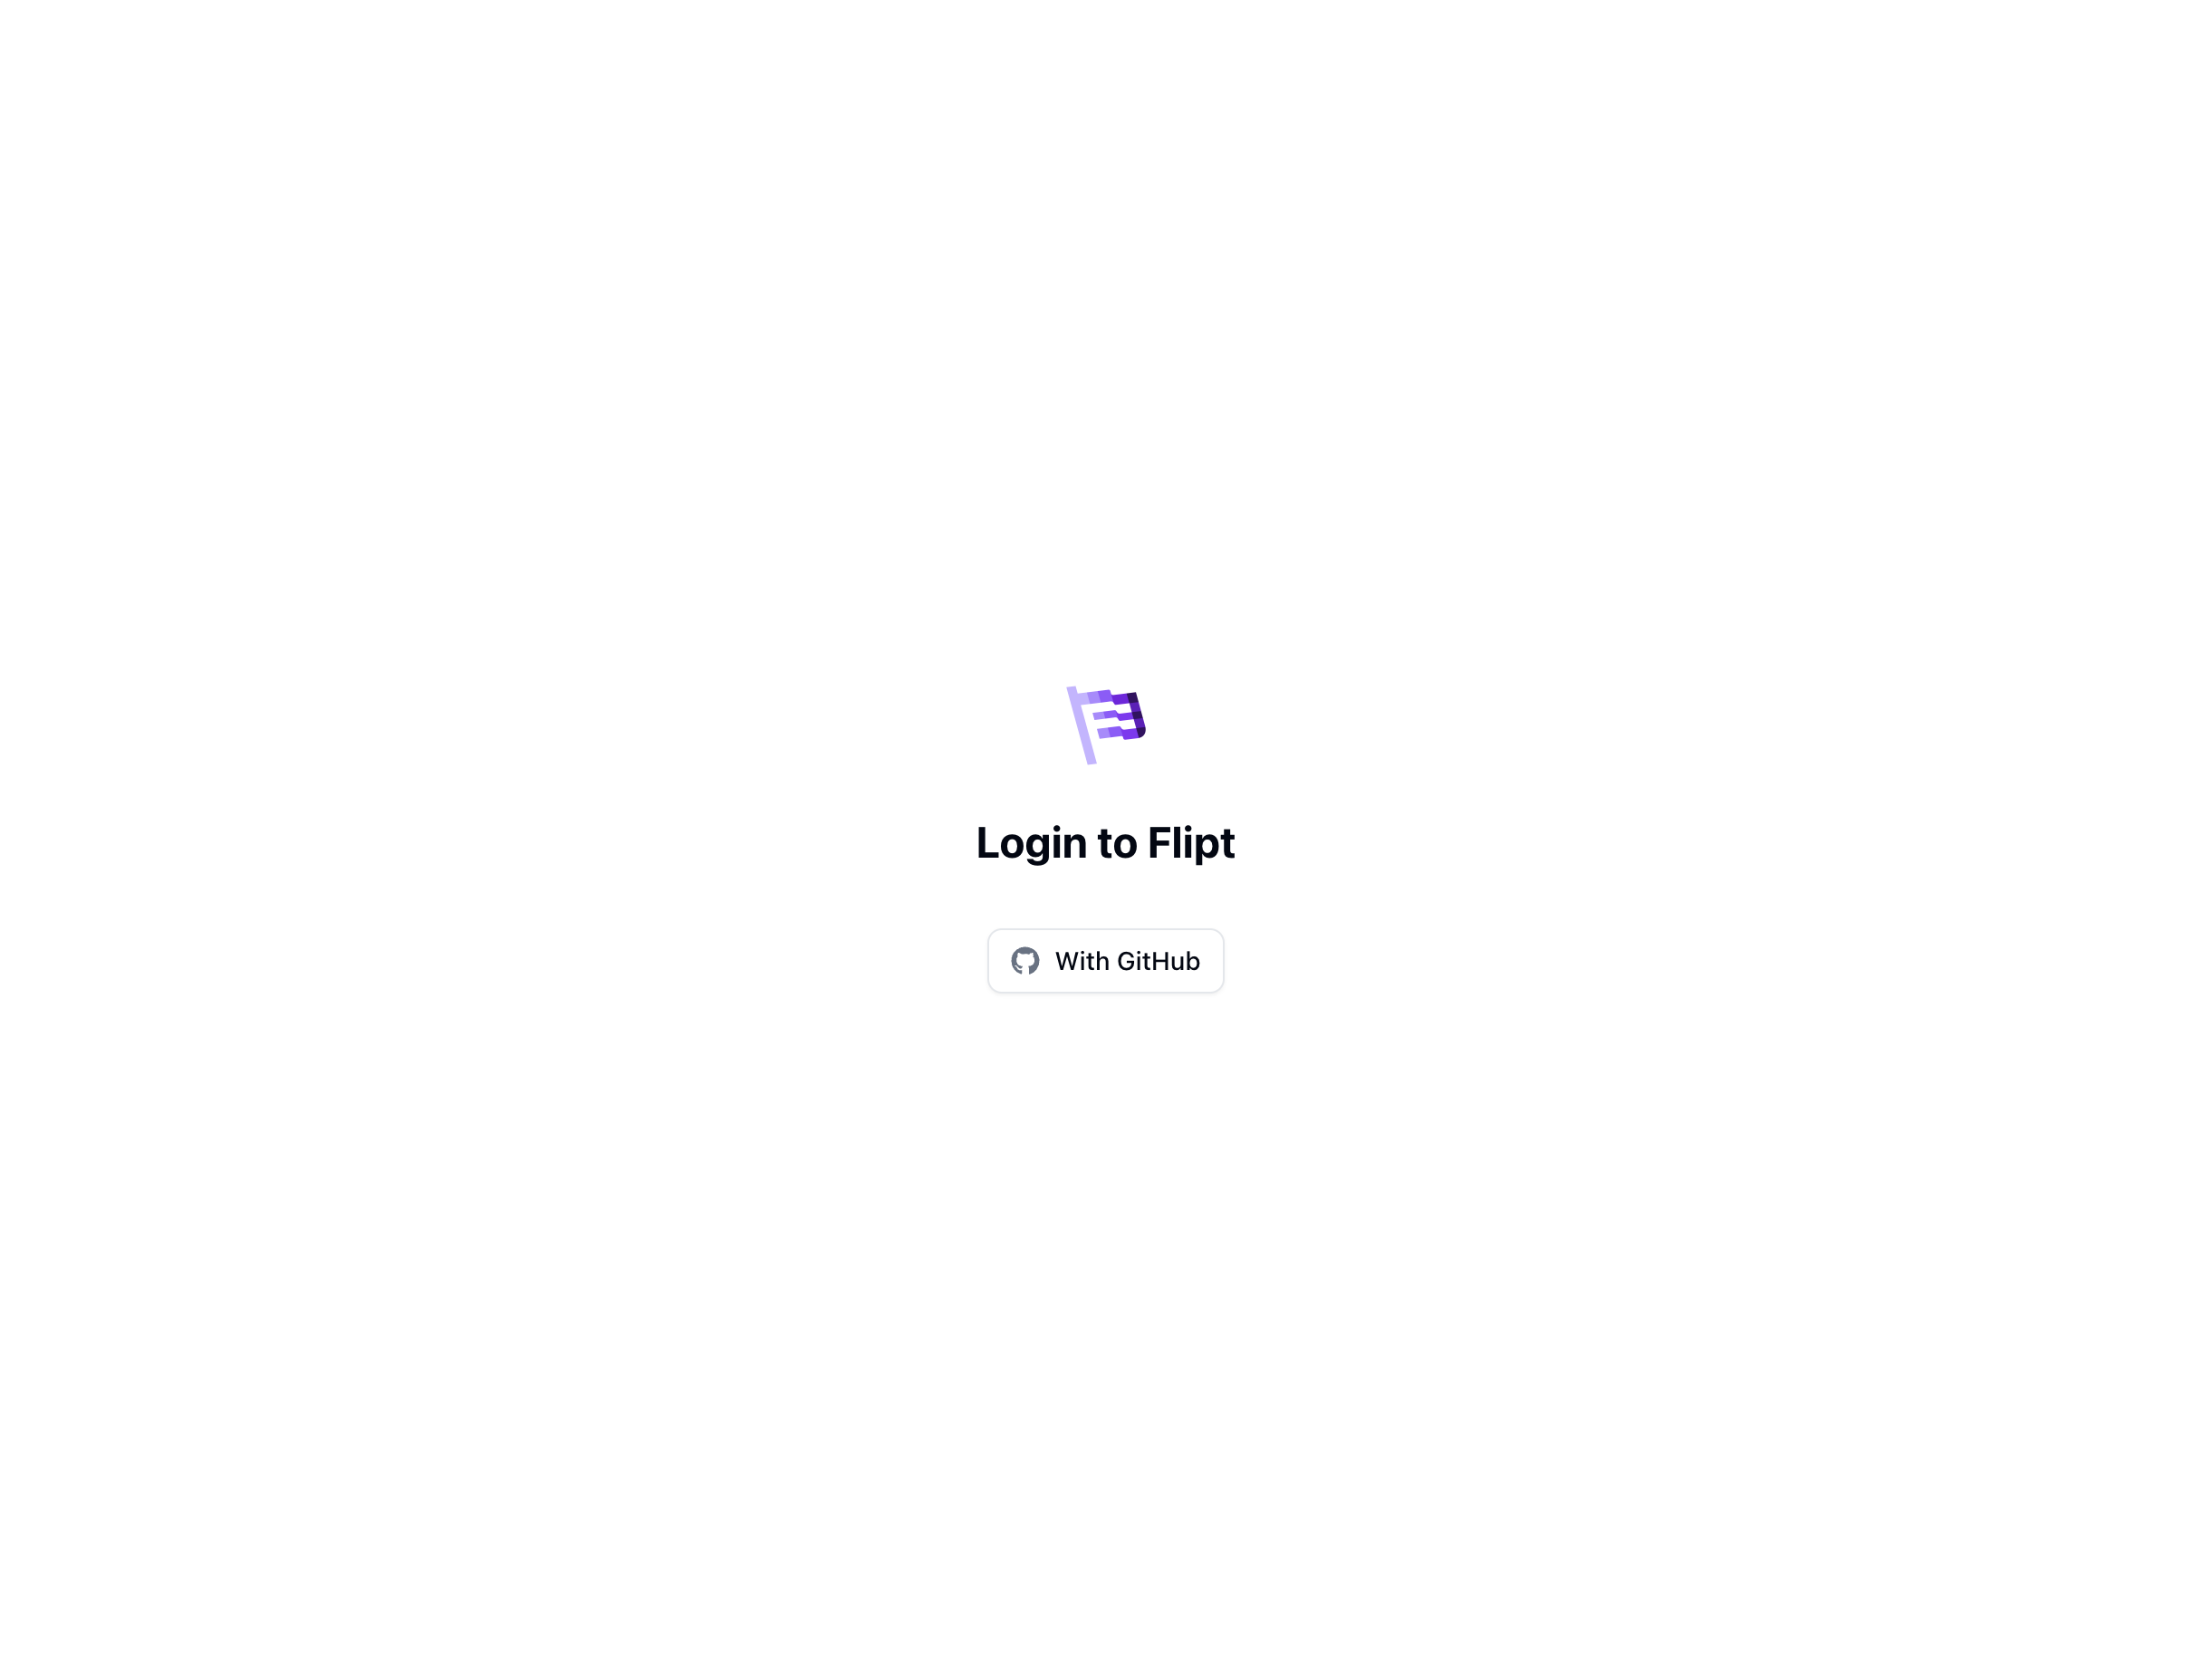 Click the button to Login With GitHub, and it should take you to the GitHub domain to complete the authentication flow.
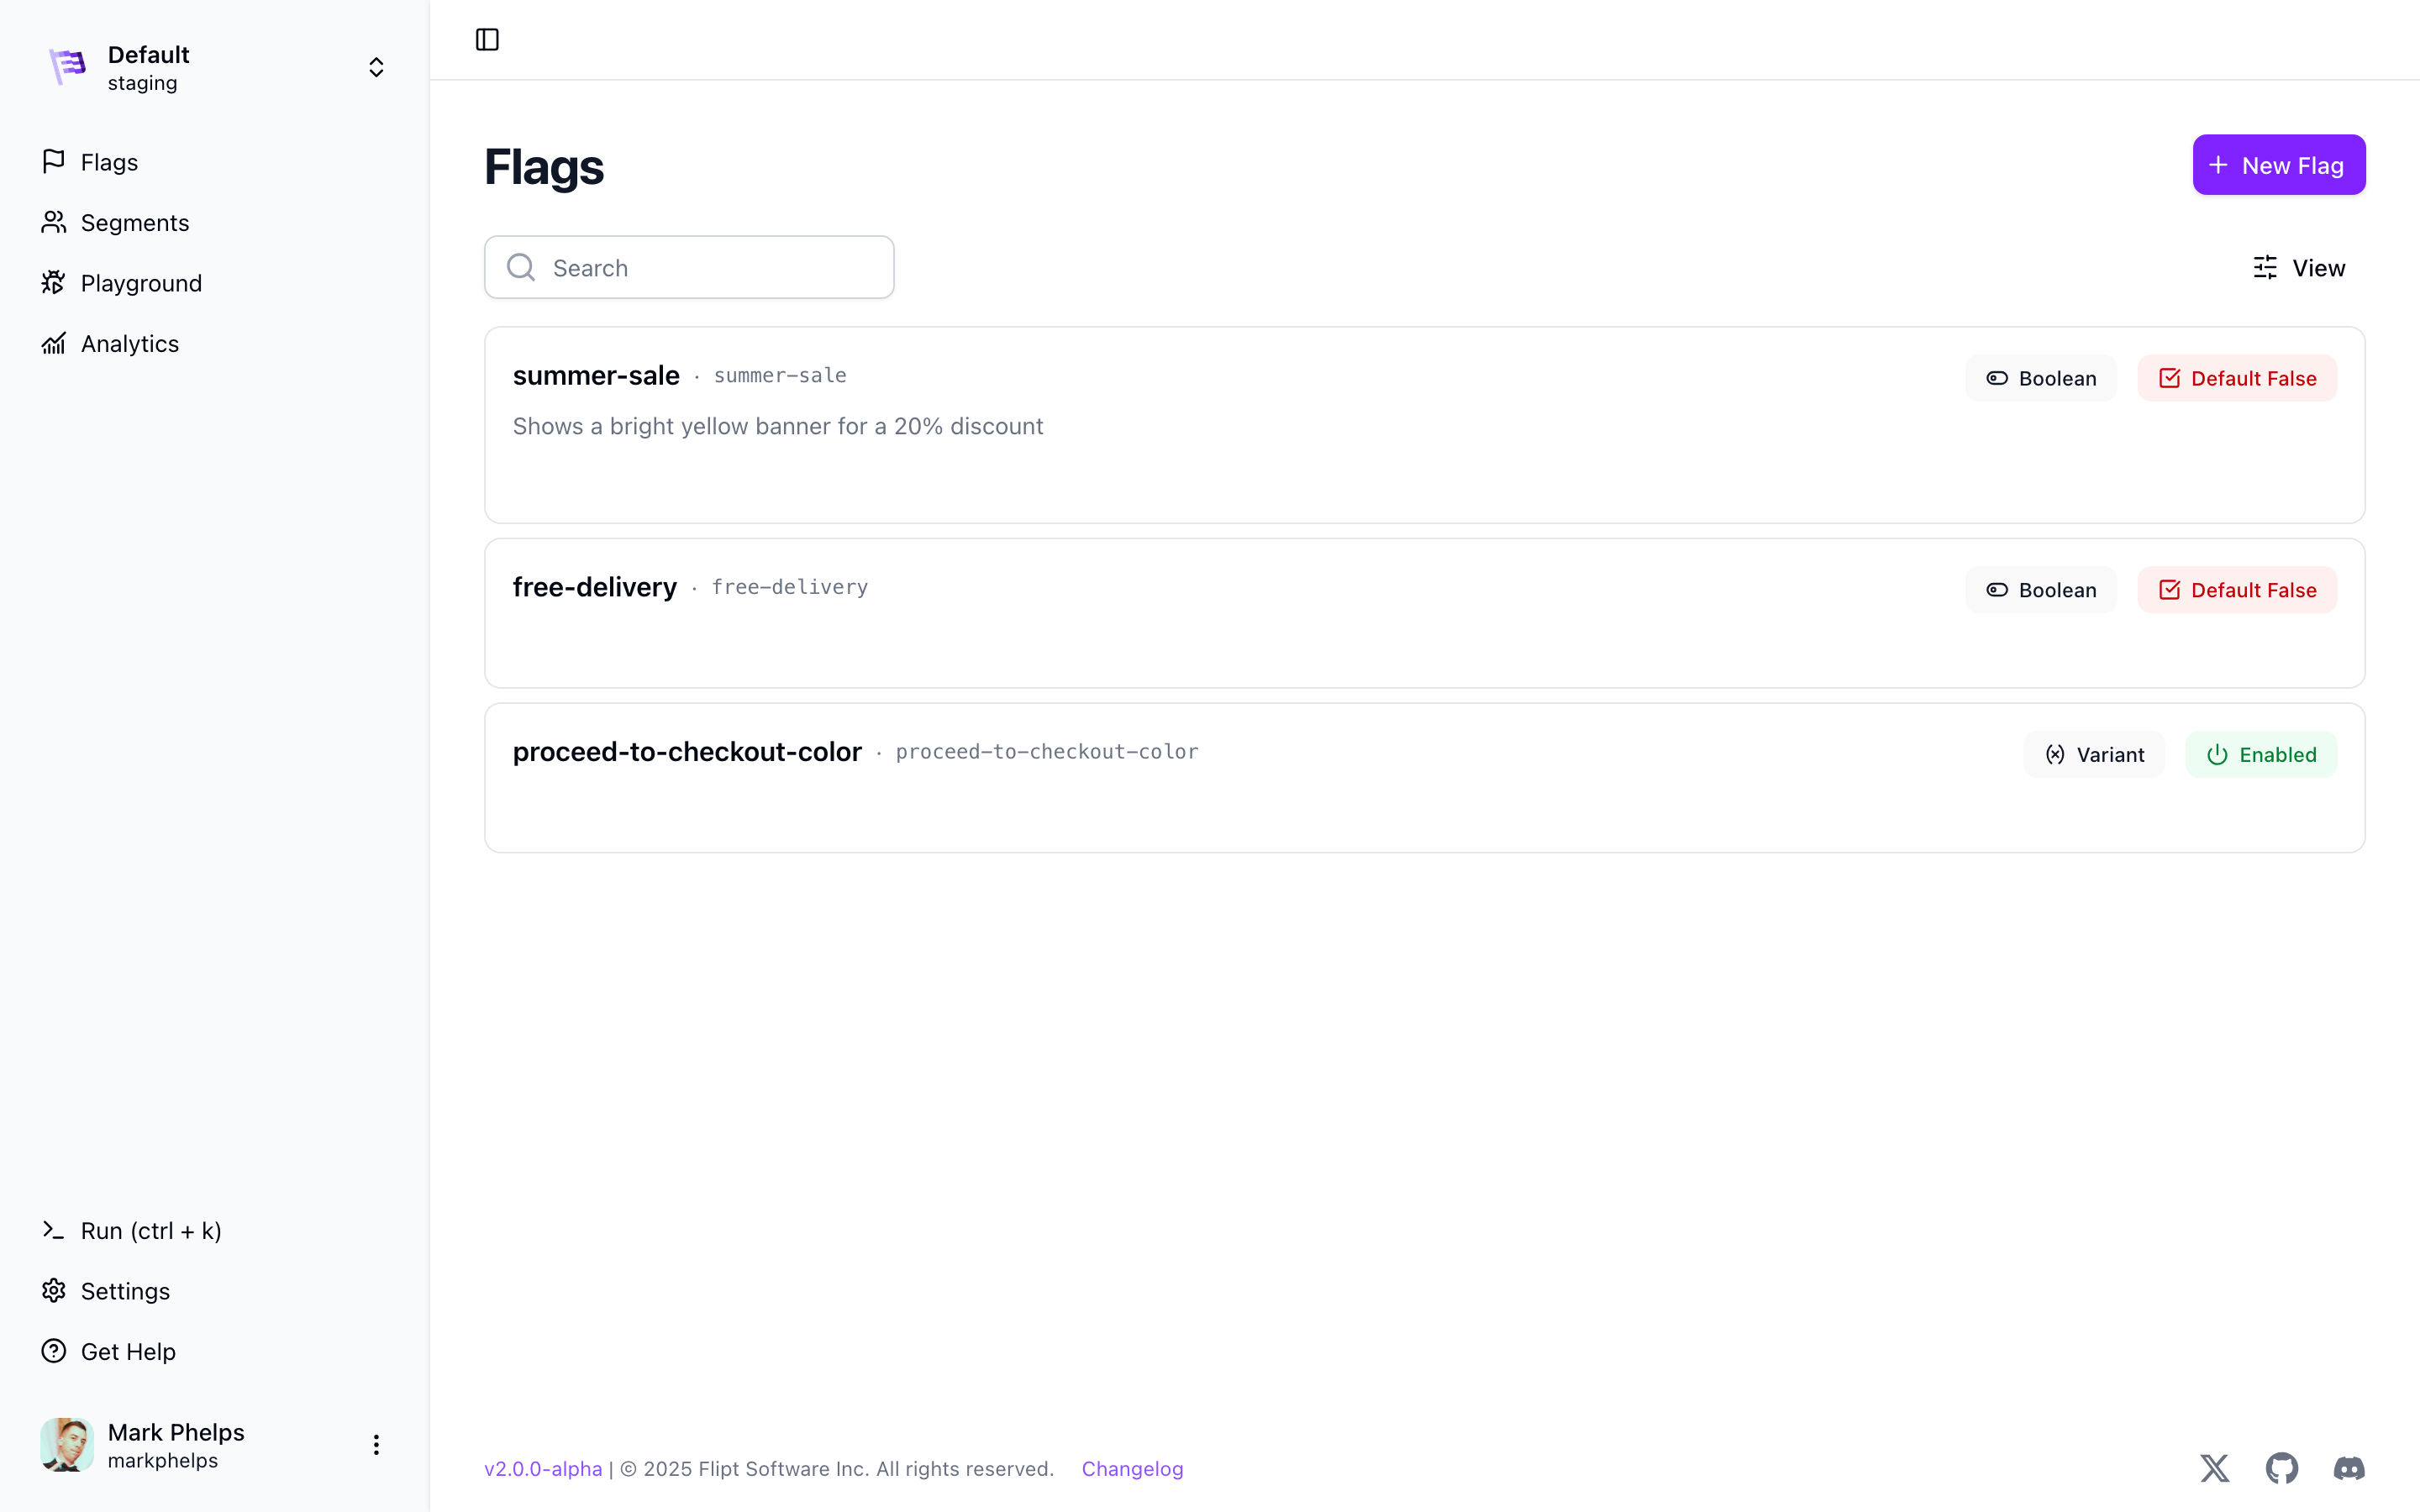
 After authenticating with GitHub, you should be redirected back to the Flipt UI and see the Flipt dashboard with your profile picture and name.
 ## Conclusion
This guide showed the basics of getting Flipt running with GitHub OAuth 2.0 authentication in a development environment.
You can now use GitHub to authenticate with Flipt and start using Flipt to manage your flags.
If you have any questions or feedback, please reach out to the Flipt team on [Discord](https://discord.gg/flipt) or [GitHub Discussions](https://github.com/flipt-io/flipt/discussions).
***
**References:**
* [Flipt v2 Authentication Configuration](/v2/configuration/authentication)
* [GitHub OAuth 2.0 Documentation](https://docs.github.com/en/apps/oauth-apps/building-oauth-apps/scopes-for-oauth-apps)
## Conclusion
This guide showed the basics of getting Flipt running with GitHub OAuth 2.0 authentication in a development environment.
You can now use GitHub to authenticate with Flipt and start using Flipt to manage your flags.
If you have any questions or feedback, please reach out to the Flipt team on [Discord](https://discord.gg/flipt) or [GitHub Discussions](https://github.com/flipt-io/flipt/discussions).
***
**References:**
* [Flipt v2 Authentication Configuration](/v2/configuration/authentication)
* [GitHub OAuth 2.0 Documentation](https://docs.github.com/en/apps/oauth-apps/building-oauth-apps/scopes-for-oauth-apps)