> ## Documentation Index
> Fetch the complete documentation index at: https://docs.flipt.io/llms.txt
> Use this file to discover all available pages before exploring further.
# Login with Keycloak
> Configuring Flipt to enable login with Keycloak via OIDC
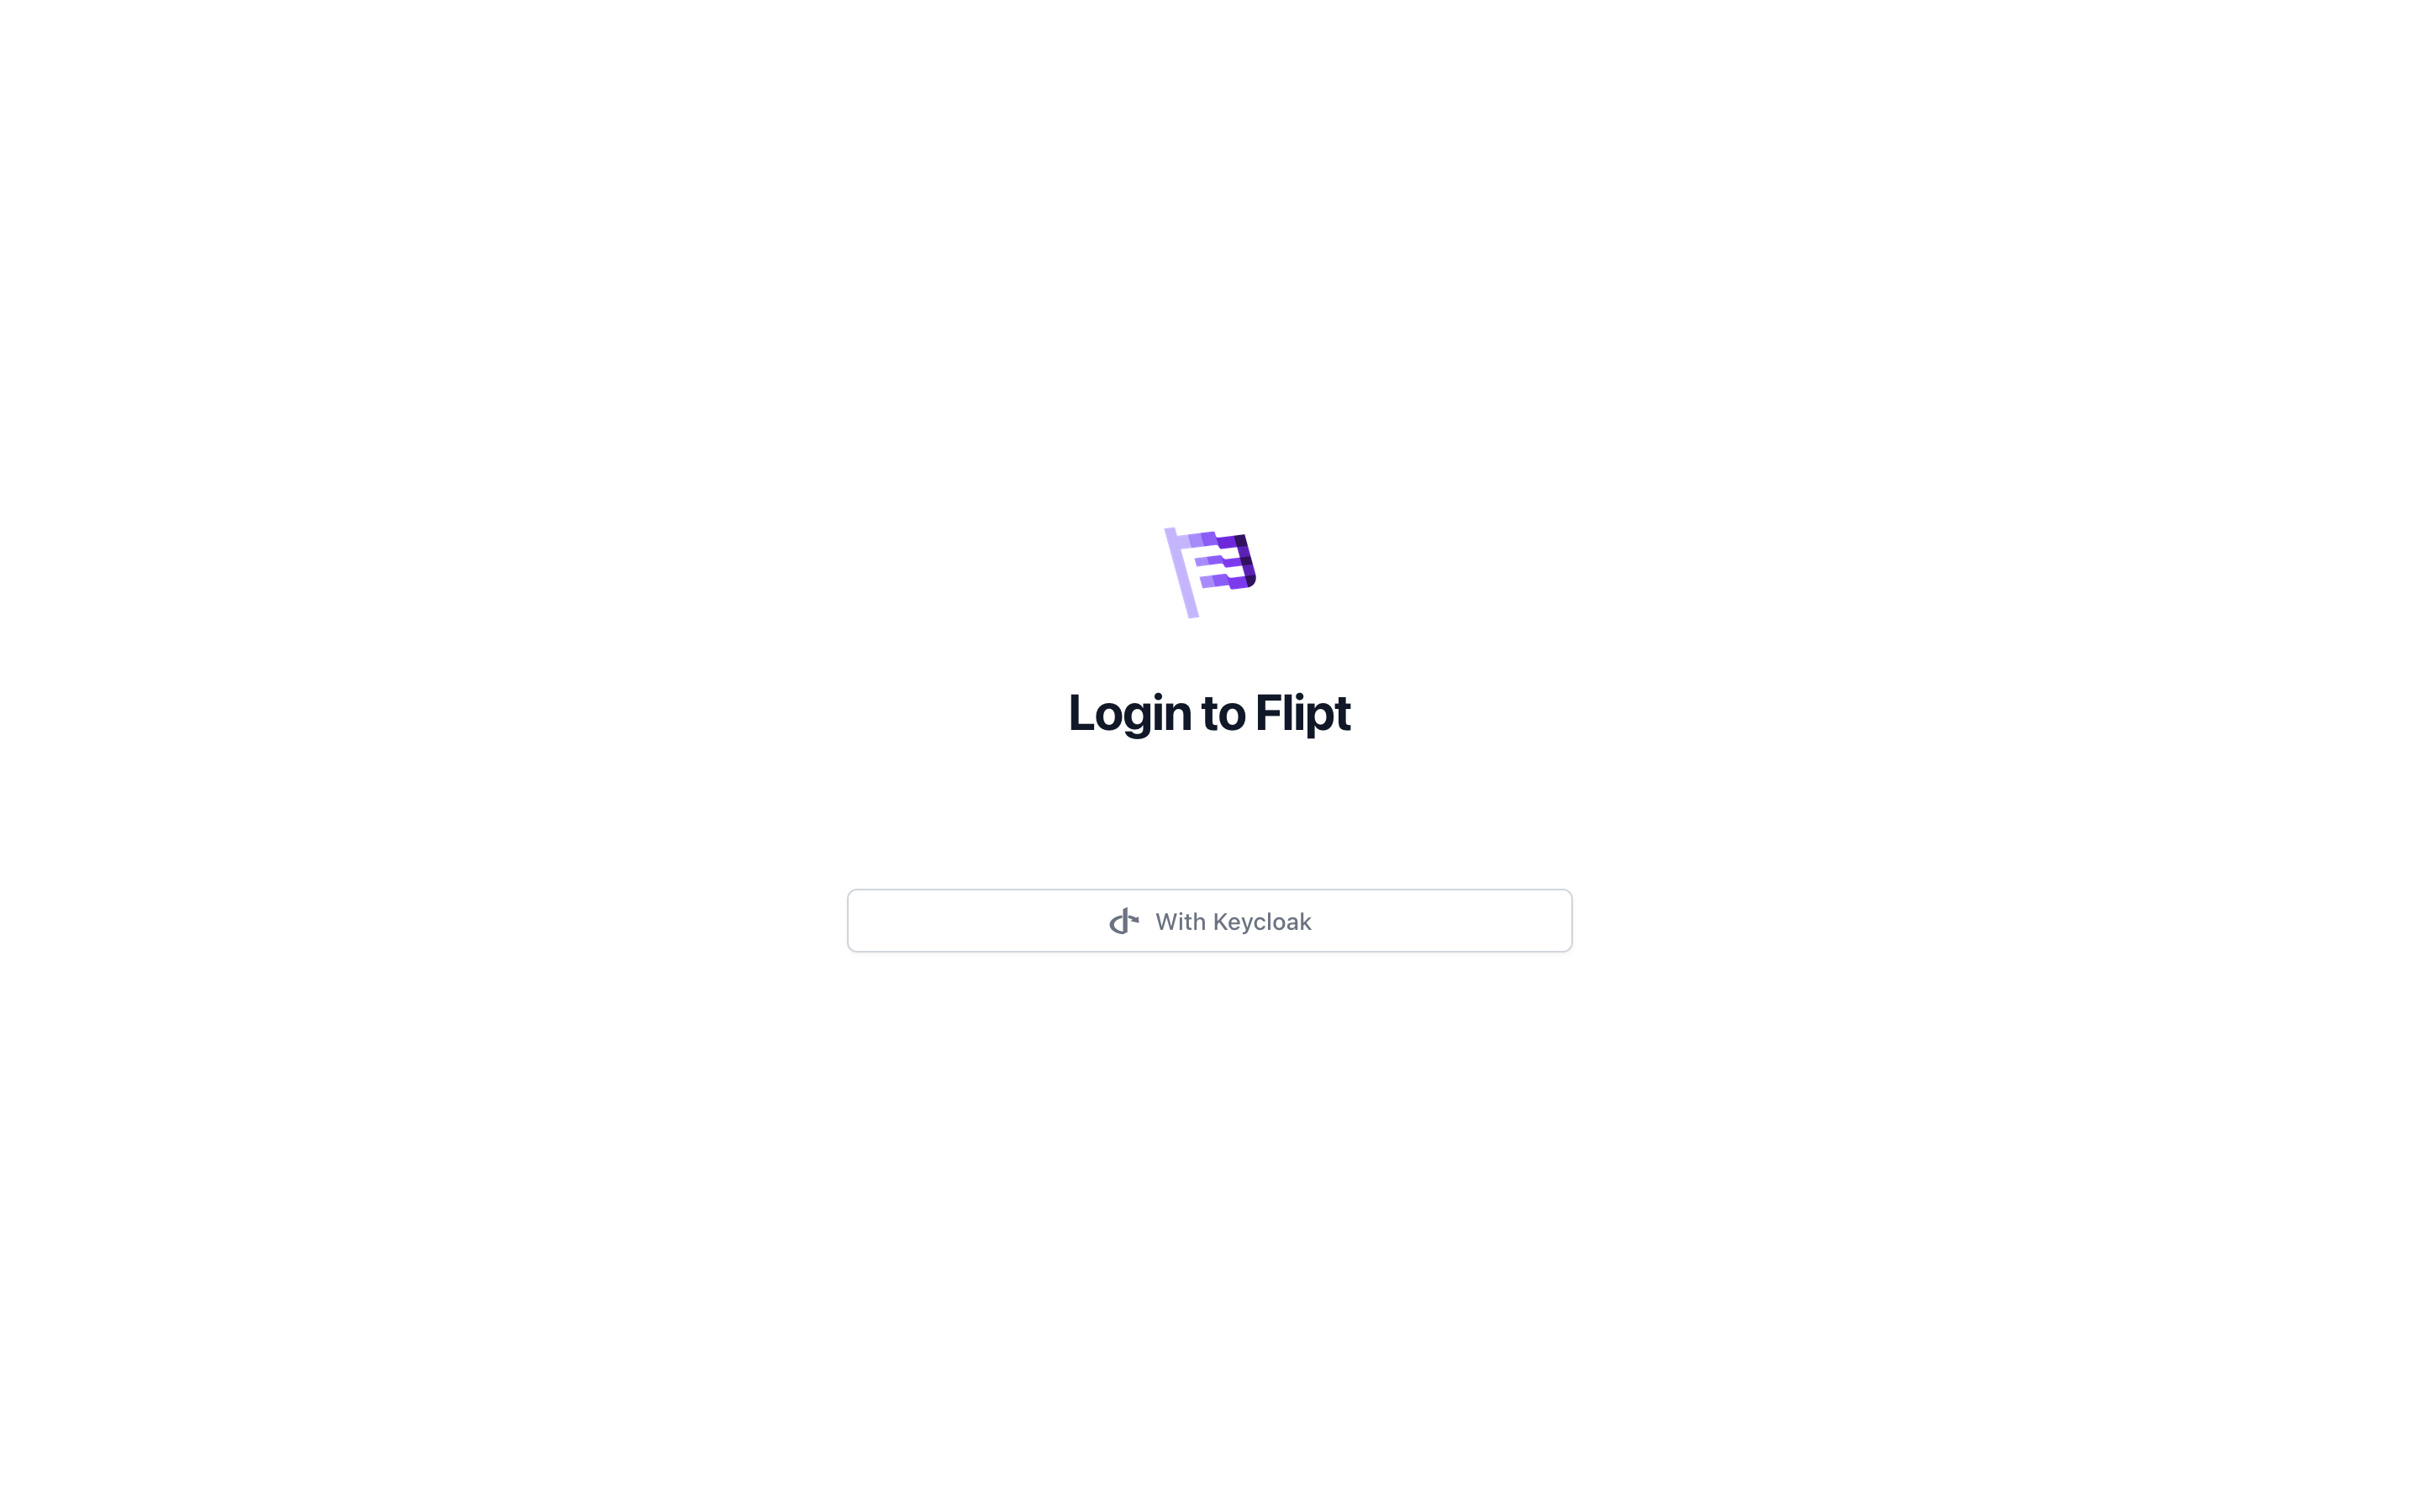 If you've read the [Login With Google guide](/v1/guides/operation/authentication/login-with-google), you would have learned that Flipt supports many methods of authentication for users to control who has access to Flipt.
[Keycloak](https://www.keycloak.org/) is an open-source identity and access management solution that supports OpenID Connect (OIDC). This guide will serve as a walk-through on how to set up Keycloak for authentication of users of Flipt in your organization.
## What You'll Learn
In this guide, you will learn how to configure Keycloak as an OIDC provider for Flipt.
By the end of this guide, we will have:
* ⚙️ Setup Keycloak by creating a realm, user, and client
* 🔒 Configured Keycloak as an OIDC provider for Flipt
## Prerequisites
For this guide you're going to need the following:
* [Docker](https://www.docker.com/)
* Read the [Login With Google guide](/v1/guides/operation/authentication/login-with-google)
## Setting Up Keycloak
To set up Keycloak for authentication, you will need to create a new realm, client, and user.
This section of the guide is a simplified version of the [Keycloak: Getting
Started Docker
Guide](https://www.keycloak.org/getting-started/getting-started-docker).
### 1. Start Keycloak
Start Keycloak using Docker:
```bash theme={null}
docker run -p 8080:8080 -e KEYCLOAK_ADMIN=admin -e KEYCLOAK_ADMIN_PASSWORD=admin quay.io/keycloak/keycloak:24.0.4 start-dev
```
### 2. Access Keycloak
Access Keycloak at [http://localhost:8080](http://localhost:8080) and log in with the admin credentials (`admin`/`admin`).
### 3. Create a Realm
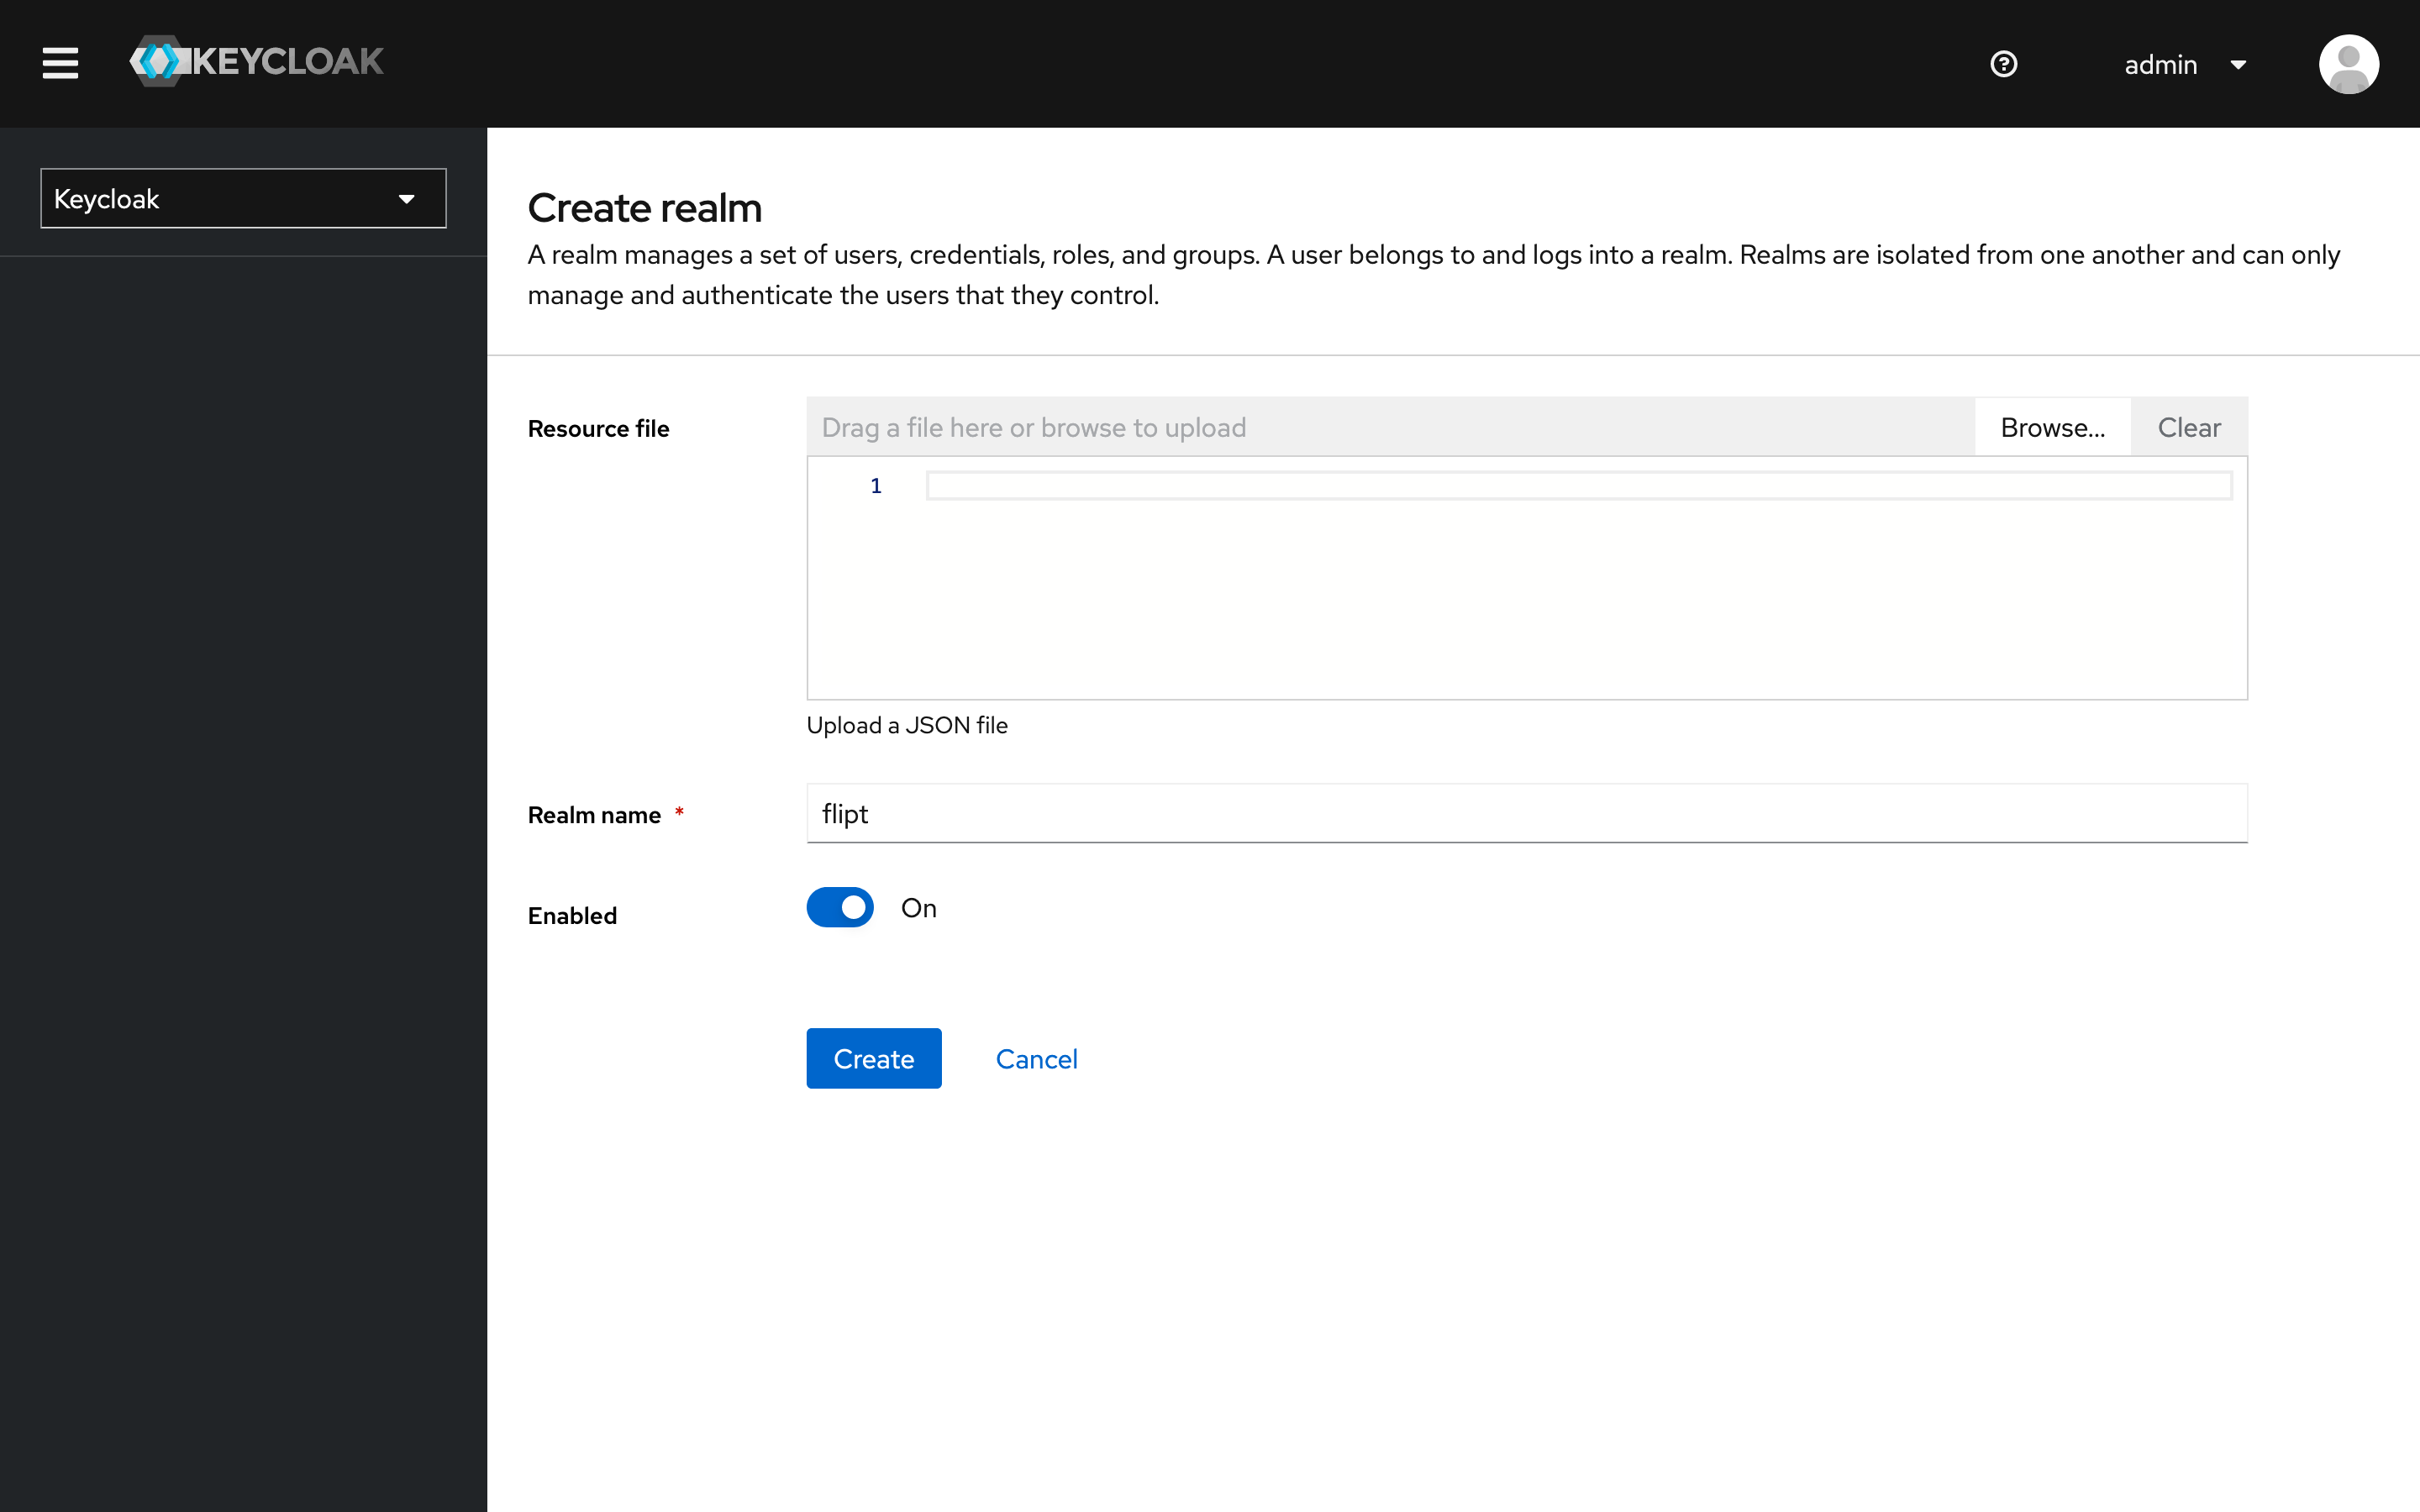
Create a new realm called `flipt`:
1. Click on `Keycloak` in the top-left corner.
2. Click on the `Create realm` button.
3. Enter `flipt` as the realm name.
4. Click on the `Create` button.
If you've read the [Login With Google guide](/v1/guides/operation/authentication/login-with-google), you would have learned that Flipt supports many methods of authentication for users to control who has access to Flipt.
[Keycloak](https://www.keycloak.org/) is an open-source identity and access management solution that supports OpenID Connect (OIDC). This guide will serve as a walk-through on how to set up Keycloak for authentication of users of Flipt in your organization.
## What You'll Learn
In this guide, you will learn how to configure Keycloak as an OIDC provider for Flipt.
By the end of this guide, we will have:
* ⚙️ Setup Keycloak by creating a realm, user, and client
* 🔒 Configured Keycloak as an OIDC provider for Flipt
## Prerequisites
For this guide you're going to need the following:
* [Docker](https://www.docker.com/)
* Read the [Login With Google guide](/v1/guides/operation/authentication/login-with-google)
## Setting Up Keycloak
To set up Keycloak for authentication, you will need to create a new realm, client, and user.
This section of the guide is a simplified version of the [Keycloak: Getting
Started Docker
Guide](https://www.keycloak.org/getting-started/getting-started-docker).
### 1. Start Keycloak
Start Keycloak using Docker:
```bash theme={null}
docker run -p 8080:8080 -e KEYCLOAK_ADMIN=admin -e KEYCLOAK_ADMIN_PASSWORD=admin quay.io/keycloak/keycloak:24.0.4 start-dev
```
### 2. Access Keycloak
Access Keycloak at [http://localhost:8080](http://localhost:8080) and log in with the admin credentials (`admin`/`admin`).
### 3. Create a Realm
Create a new realm called `flipt`:
1. Click on `Keycloak` in the top-left corner.
2. Click on the `Create realm` button.
3. Enter `flipt` as the realm name.
4. Click on the `Create` button.
 ### 4. Create a User
Create a new user called `user`:
1. Click on the `Users` tab.
2. Click on the `Create new user` button.
3. Fill in the user details and click on the `Create` button.
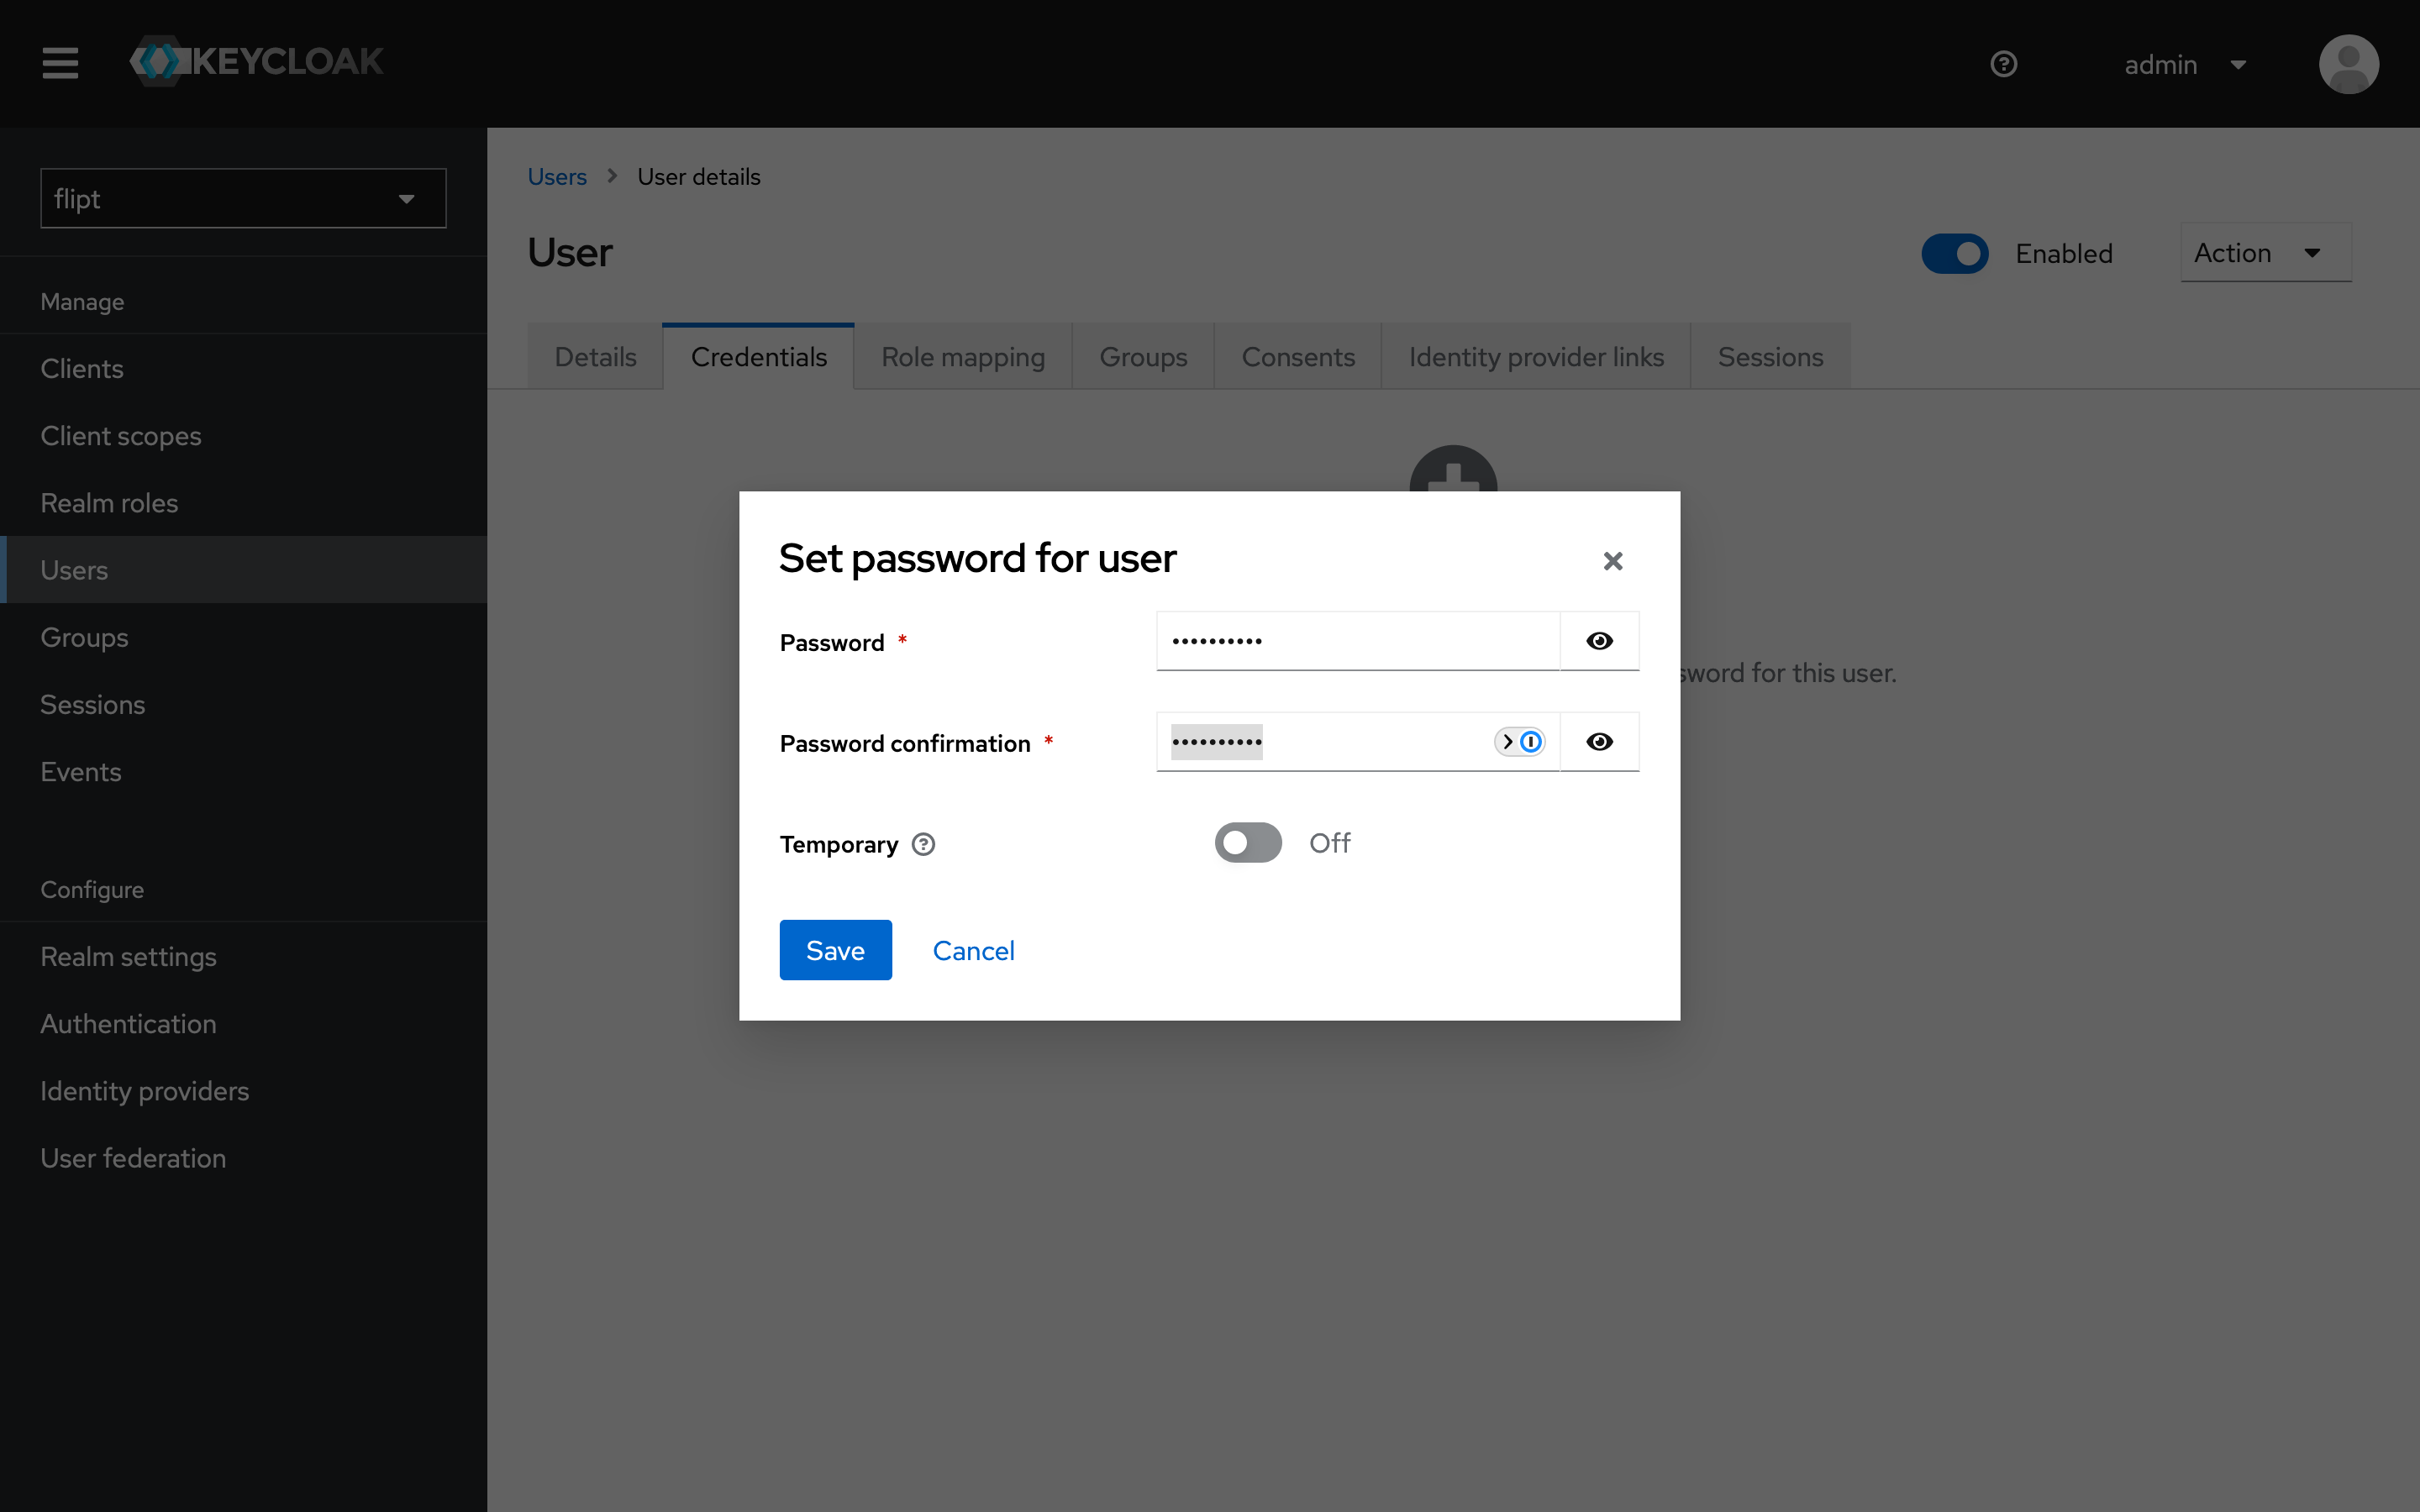
4. Set the user's password by clicking on the `Credentials` tab and click `Set Password`.
5. Enter a password and confirm the password.
6. Toggle `Temporary` to `OFF` so that the user does not need to change their password on the first login.
7. Click `Save`.
### 4. Create a User
Create a new user called `user`:
1. Click on the `Users` tab.
2. Click on the `Create new user` button.
3. Fill in the user details and click on the `Create` button.
4. Set the user's password by clicking on the `Credentials` tab and click `Set Password`.
5. Enter a password and confirm the password.
6. Toggle `Temporary` to `OFF` so that the user does not need to change their password on the first login.
7. Click `Save`.
 ### 5. Create a Client
Create a new client called `flipt`:
1. Click on the `Clients` tab.
2. Click on the `Create Client` button.
3. Ensure `OpenID Connect` is selected as the client type.
4. Enter `flipt` as the client ID and click on `Next`.
5. Ensure the `Standard flow` and `Direct access grants` are enabled and click on `Next`.
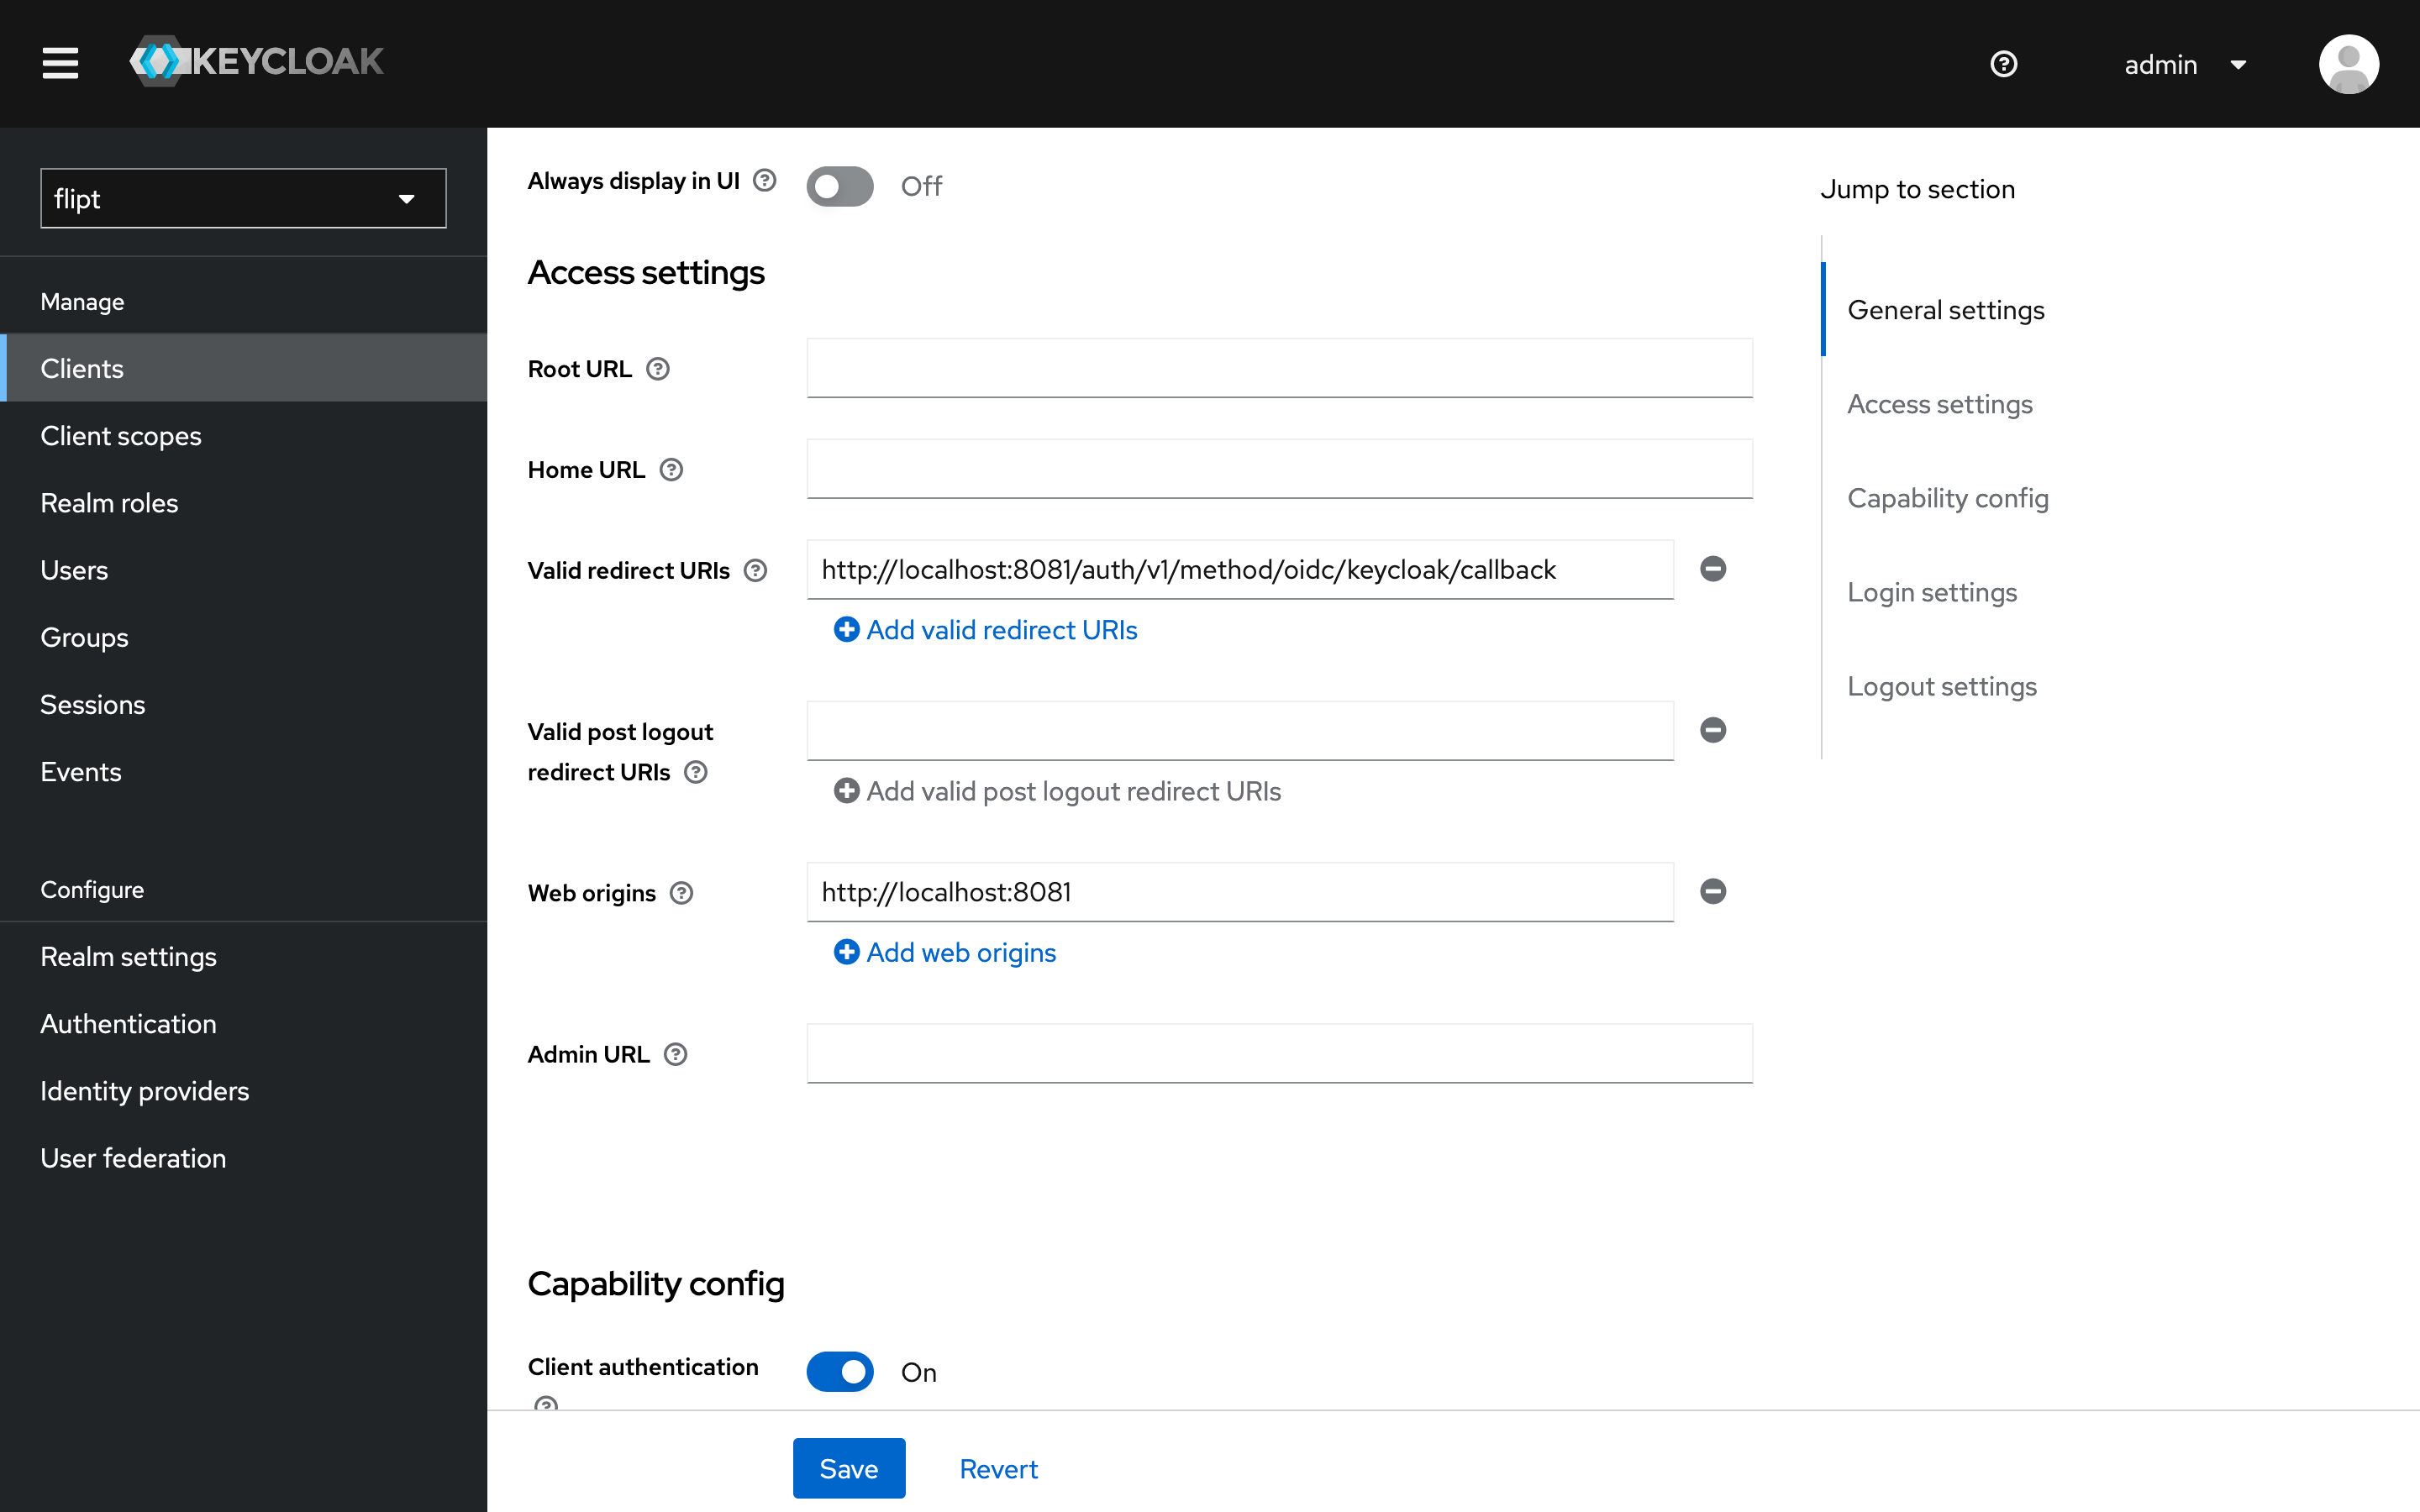
6. Set the `Valid Redirect URIs` to `http://localhost:8081/auth/v1/method/oidc/keycloak/callback`.
7. Set the `Web Origins` to `http://localhost:8081`.
8. Ensure `Client authentication` is set to `ON`.
9. Click on `Save`.
### 5. Create a Client
Create a new client called `flipt`:
1. Click on the `Clients` tab.
2. Click on the `Create Client` button.
3. Ensure `OpenID Connect` is selected as the client type.
4. Enter `flipt` as the client ID and click on `Next`.
5. Ensure the `Standard flow` and `Direct access grants` are enabled and click on `Next`.
6. Set the `Valid Redirect URIs` to `http://localhost:8081/auth/v1/method/oidc/keycloak/callback`.
7. Set the `Web Origins` to `http://localhost:8081`.
8. Ensure `Client authentication` is set to `ON`.
9. Click on `Save`.
 ### 6. Copy Client ID and Secret
1. From the `flipt` client, click on the `Credentials` tab.
2. The client ID will be displayed at the top of the page (e.g., `flipt`). Copy this value and save it for later.
3. Click on the copy icon next to the `Client Secret` field to copy the client secret. Save this value for later.
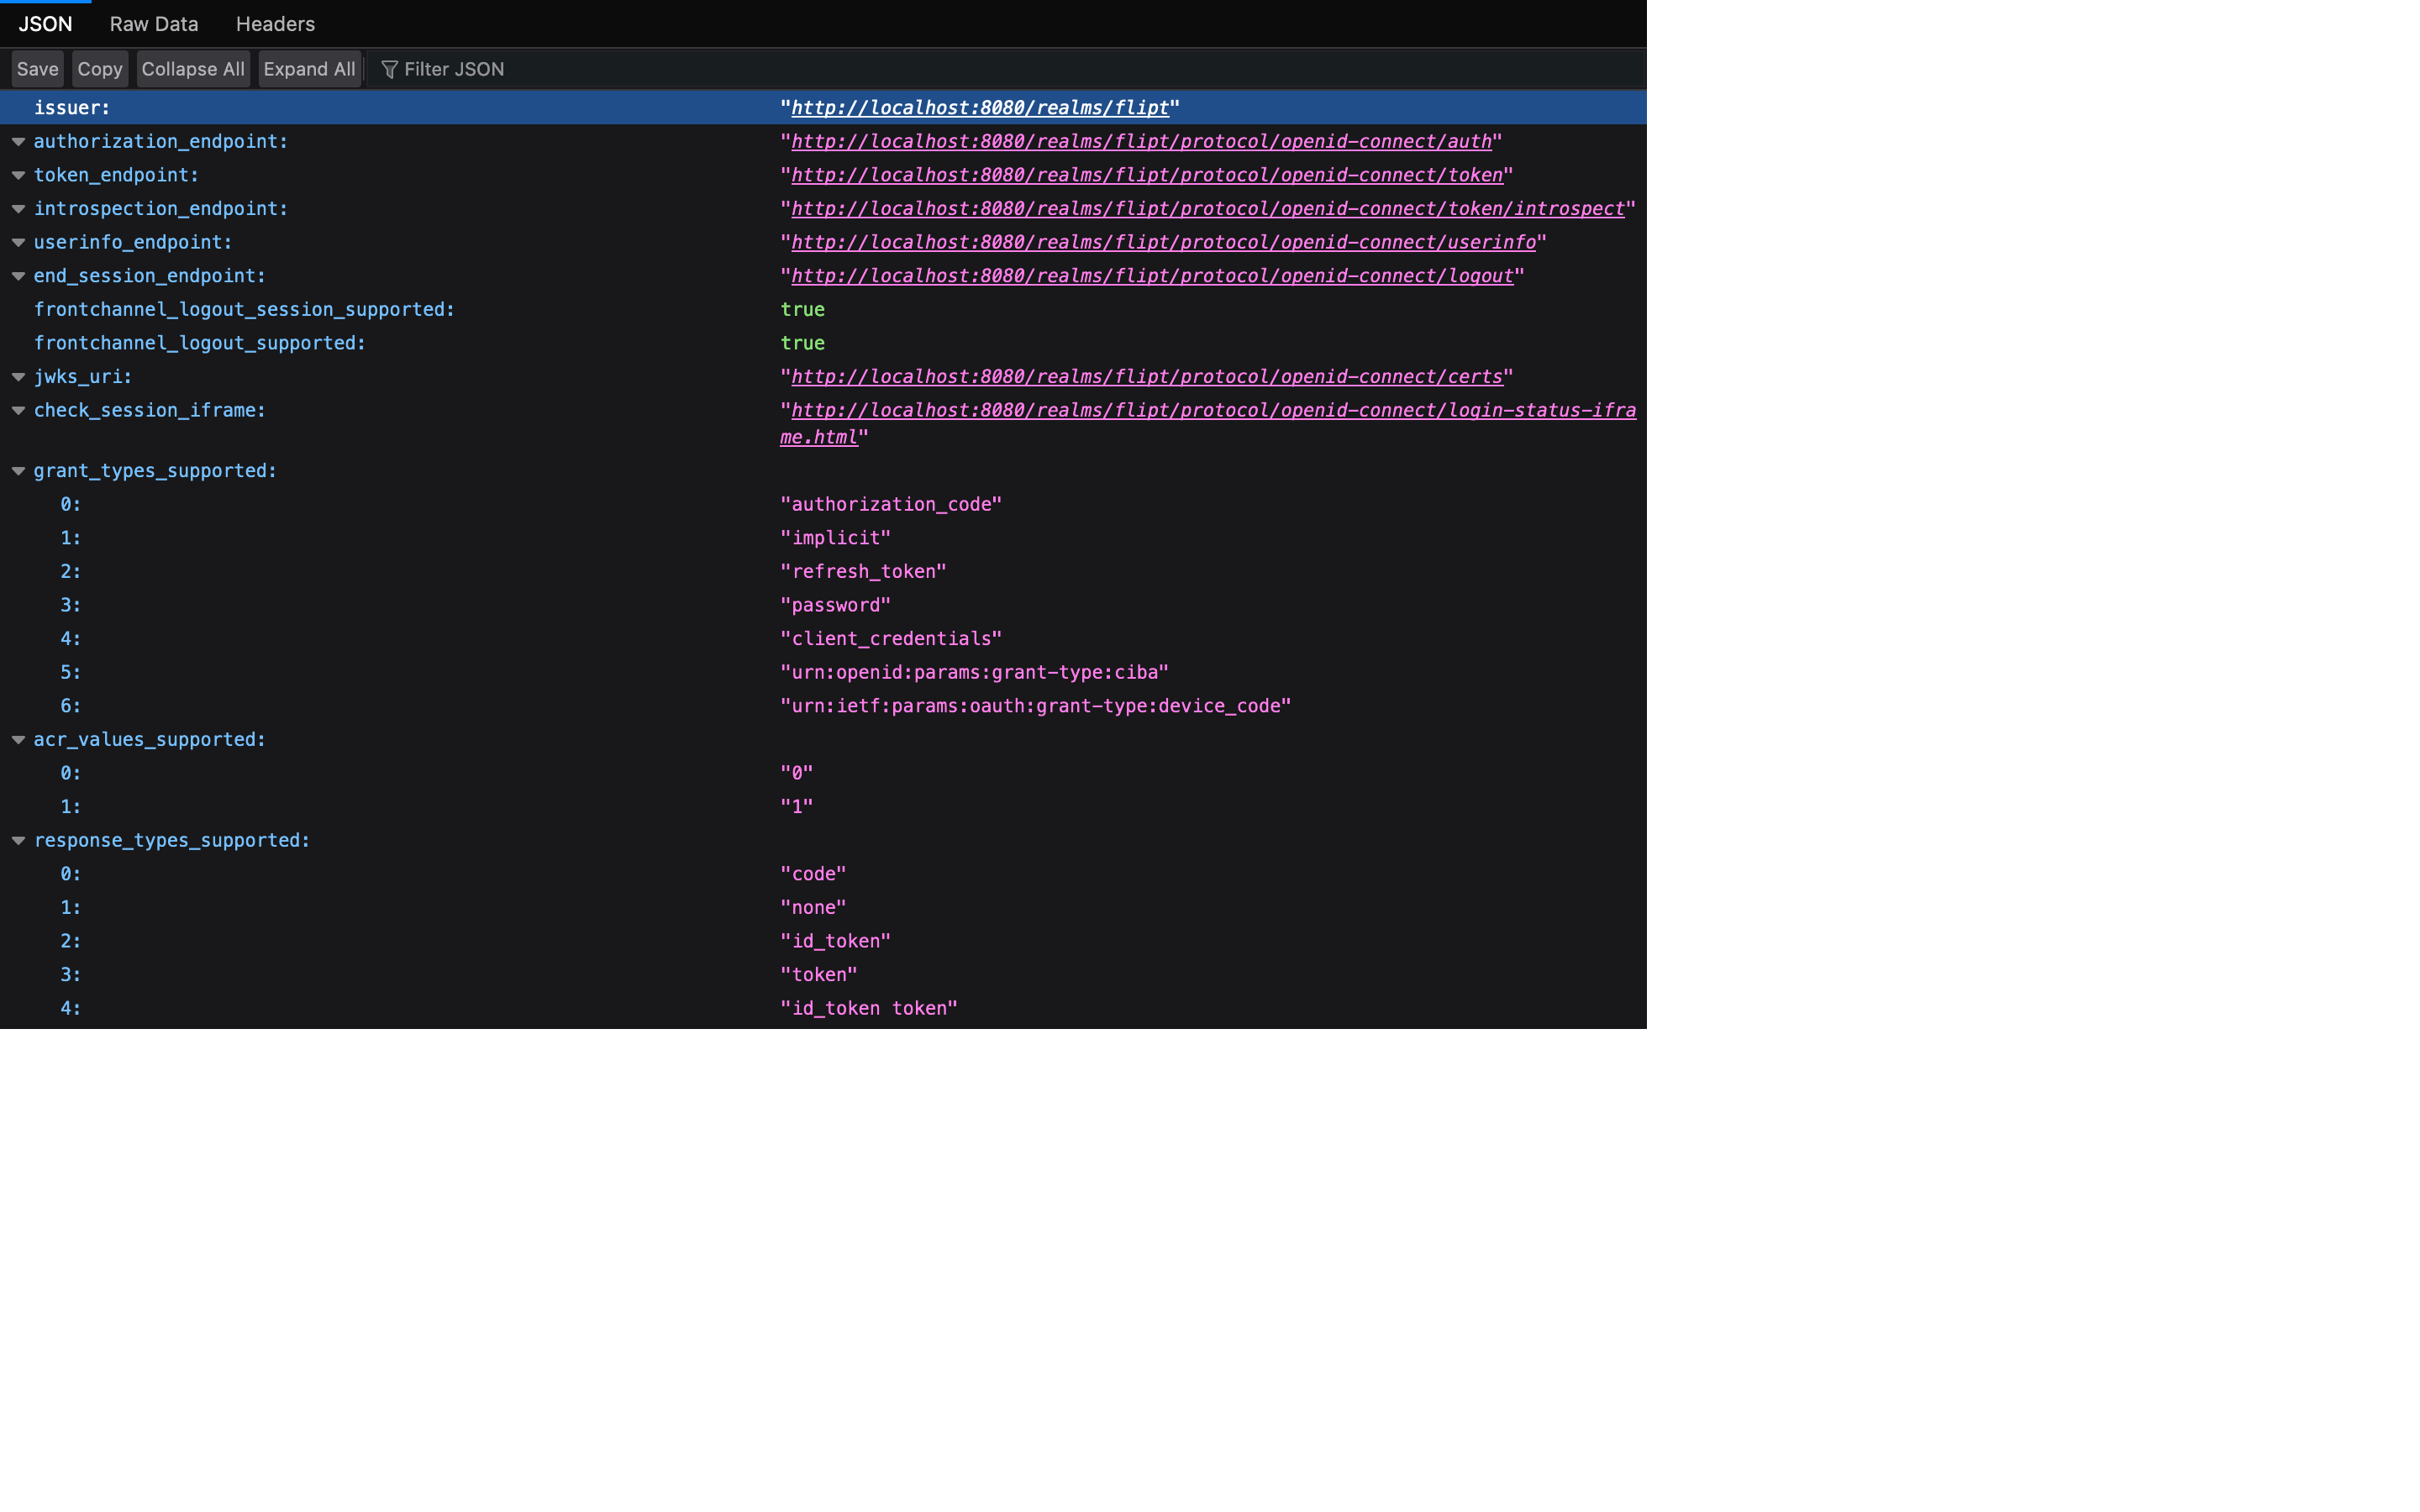
### 7. Get Required URLs
1. In another browser tab, paste the following URL into the address bar:
```
http://localhost:8080/realms/flipt/.well-known/openid-configuration
```
2. Copy the `issuer` URL from the JSON response. This will be used as the `issuer_url` in the Flipt configuration.
### 6. Copy Client ID and Secret
1. From the `flipt` client, click on the `Credentials` tab.
2. The client ID will be displayed at the top of the page (e.g., `flipt`). Copy this value and save it for later.
3. Click on the copy icon next to the `Client Secret` field to copy the client secret. Save this value for later.
### 7. Get Required URLs
1. In another browser tab, paste the following URL into the address bar:
```
http://localhost:8080/realms/flipt/.well-known/openid-configuration
```
2. Copy the `issuer` URL from the JSON response. This will be used as the `issuer_url` in the Flipt configuration.
 ## Running Flipt
Now that we have an OIDC client configured in our Keycloak instance, we can begin configuring Flipt to leverage it.
### 1. Define a Flipt `config.yml`
We're going to create a configuration file named `config.yml` in the current directory.
This file will tell Flipt to increase its logging level to the maximum to aid in debugging. We will also set the HTTP port to `8081` to avoid conflicts with Keycloak.
It will also set authentication as `required = true`.
This is needed to ensure that Flipt enforces its APIs and must be provided with a credential of some sort to gain access.
```yaml config.yml theme={null}
version: "1.0"
log:
level: DEBUG
server:
http_port: 8081
authentication:
required: true
```
### 2. Add `keycloak` provider to `config.yml`
In your `config.yml` file, add the following configuration in the `authentication` section to enable the OIDC method and configure the Keycloak provider:
```yaml config.yml theme={null}
authentication:
required: true
session:
domain: localhost:8081
methods:
oidc:
enabled: true
providers:
keycloak:
issuer_url: "< issuer URL from Keycloak >"
client_id: "< client ID from Keycloak (e.g., `flipt`) >"
client_secret: "< client secret from Keycloak >"
redirect_address: "http://localhost:8081"
```
The session domain is required for session-compatible authentication methods. It's used by Flipt as the domain for storing authentication cookies.
Note that we've enabled the `oidc` method, and it has a section called `providers`. Each key beneath the `providers` section is unique and can be whatever you want. However, the name is important as it affects the `redirect_url` generated for the particular provider.
Each provider section has a consistent structure. You're required to provide the `issuer_url`, `client_id`, `client_secret` and `redirect_address`.
The `scopes` section is optional, and allows Flipt the opportunity to obtain additional details on the authenticating caller (e.g. email and profile picture).
### 3. Start Flipt
You can now start your Flipt instance using the following command:
```sh theme={null}
docker run -it --rm \
-p 8080:8080 \
-v "$(pwd)/config.yml:/config.yml" \
flipt/flipt:latest ./flipt --config /config.yml
```
Once Flipt has started you can to navigate your browser to the [UI](http://localhost:8081) and attempt a login with Keycloak.
When you click `Login with Keycloak` you should be navigated away to your Keycloak instance to complete the authentication flow.
## Running Flipt
Now that we have an OIDC client configured in our Keycloak instance, we can begin configuring Flipt to leverage it.
### 1. Define a Flipt `config.yml`
We're going to create a configuration file named `config.yml` in the current directory.
This file will tell Flipt to increase its logging level to the maximum to aid in debugging. We will also set the HTTP port to `8081` to avoid conflicts with Keycloak.
It will also set authentication as `required = true`.
This is needed to ensure that Flipt enforces its APIs and must be provided with a credential of some sort to gain access.
```yaml config.yml theme={null}
version: "1.0"
log:
level: DEBUG
server:
http_port: 8081
authentication:
required: true
```
### 2. Add `keycloak` provider to `config.yml`
In your `config.yml` file, add the following configuration in the `authentication` section to enable the OIDC method and configure the Keycloak provider:
```yaml config.yml theme={null}
authentication:
required: true
session:
domain: localhost:8081
methods:
oidc:
enabled: true
providers:
keycloak:
issuer_url: "< issuer URL from Keycloak >"
client_id: "< client ID from Keycloak (e.g., `flipt`) >"
client_secret: "< client secret from Keycloak >"
redirect_address: "http://localhost:8081"
```
The session domain is required for session-compatible authentication methods. It's used by Flipt as the domain for storing authentication cookies.
Note that we've enabled the `oidc` method, and it has a section called `providers`. Each key beneath the `providers` section is unique and can be whatever you want. However, the name is important as it affects the `redirect_url` generated for the particular provider.
Each provider section has a consistent structure. You're required to provide the `issuer_url`, `client_id`, `client_secret` and `redirect_address`.
The `scopes` section is optional, and allows Flipt the opportunity to obtain additional details on the authenticating caller (e.g. email and profile picture).
### 3. Start Flipt
You can now start your Flipt instance using the following command:
```sh theme={null}
docker run -it --rm \
-p 8080:8080 \
-v "$(pwd)/config.yml:/config.yml" \
flipt/flipt:latest ./flipt --config /config.yml
```
Once Flipt has started you can to navigate your browser to the [UI](http://localhost:8081) and attempt a login with Keycloak.
When you click `Login with Keycloak` you should be navigated away to your Keycloak instance to complete the authentication flow.
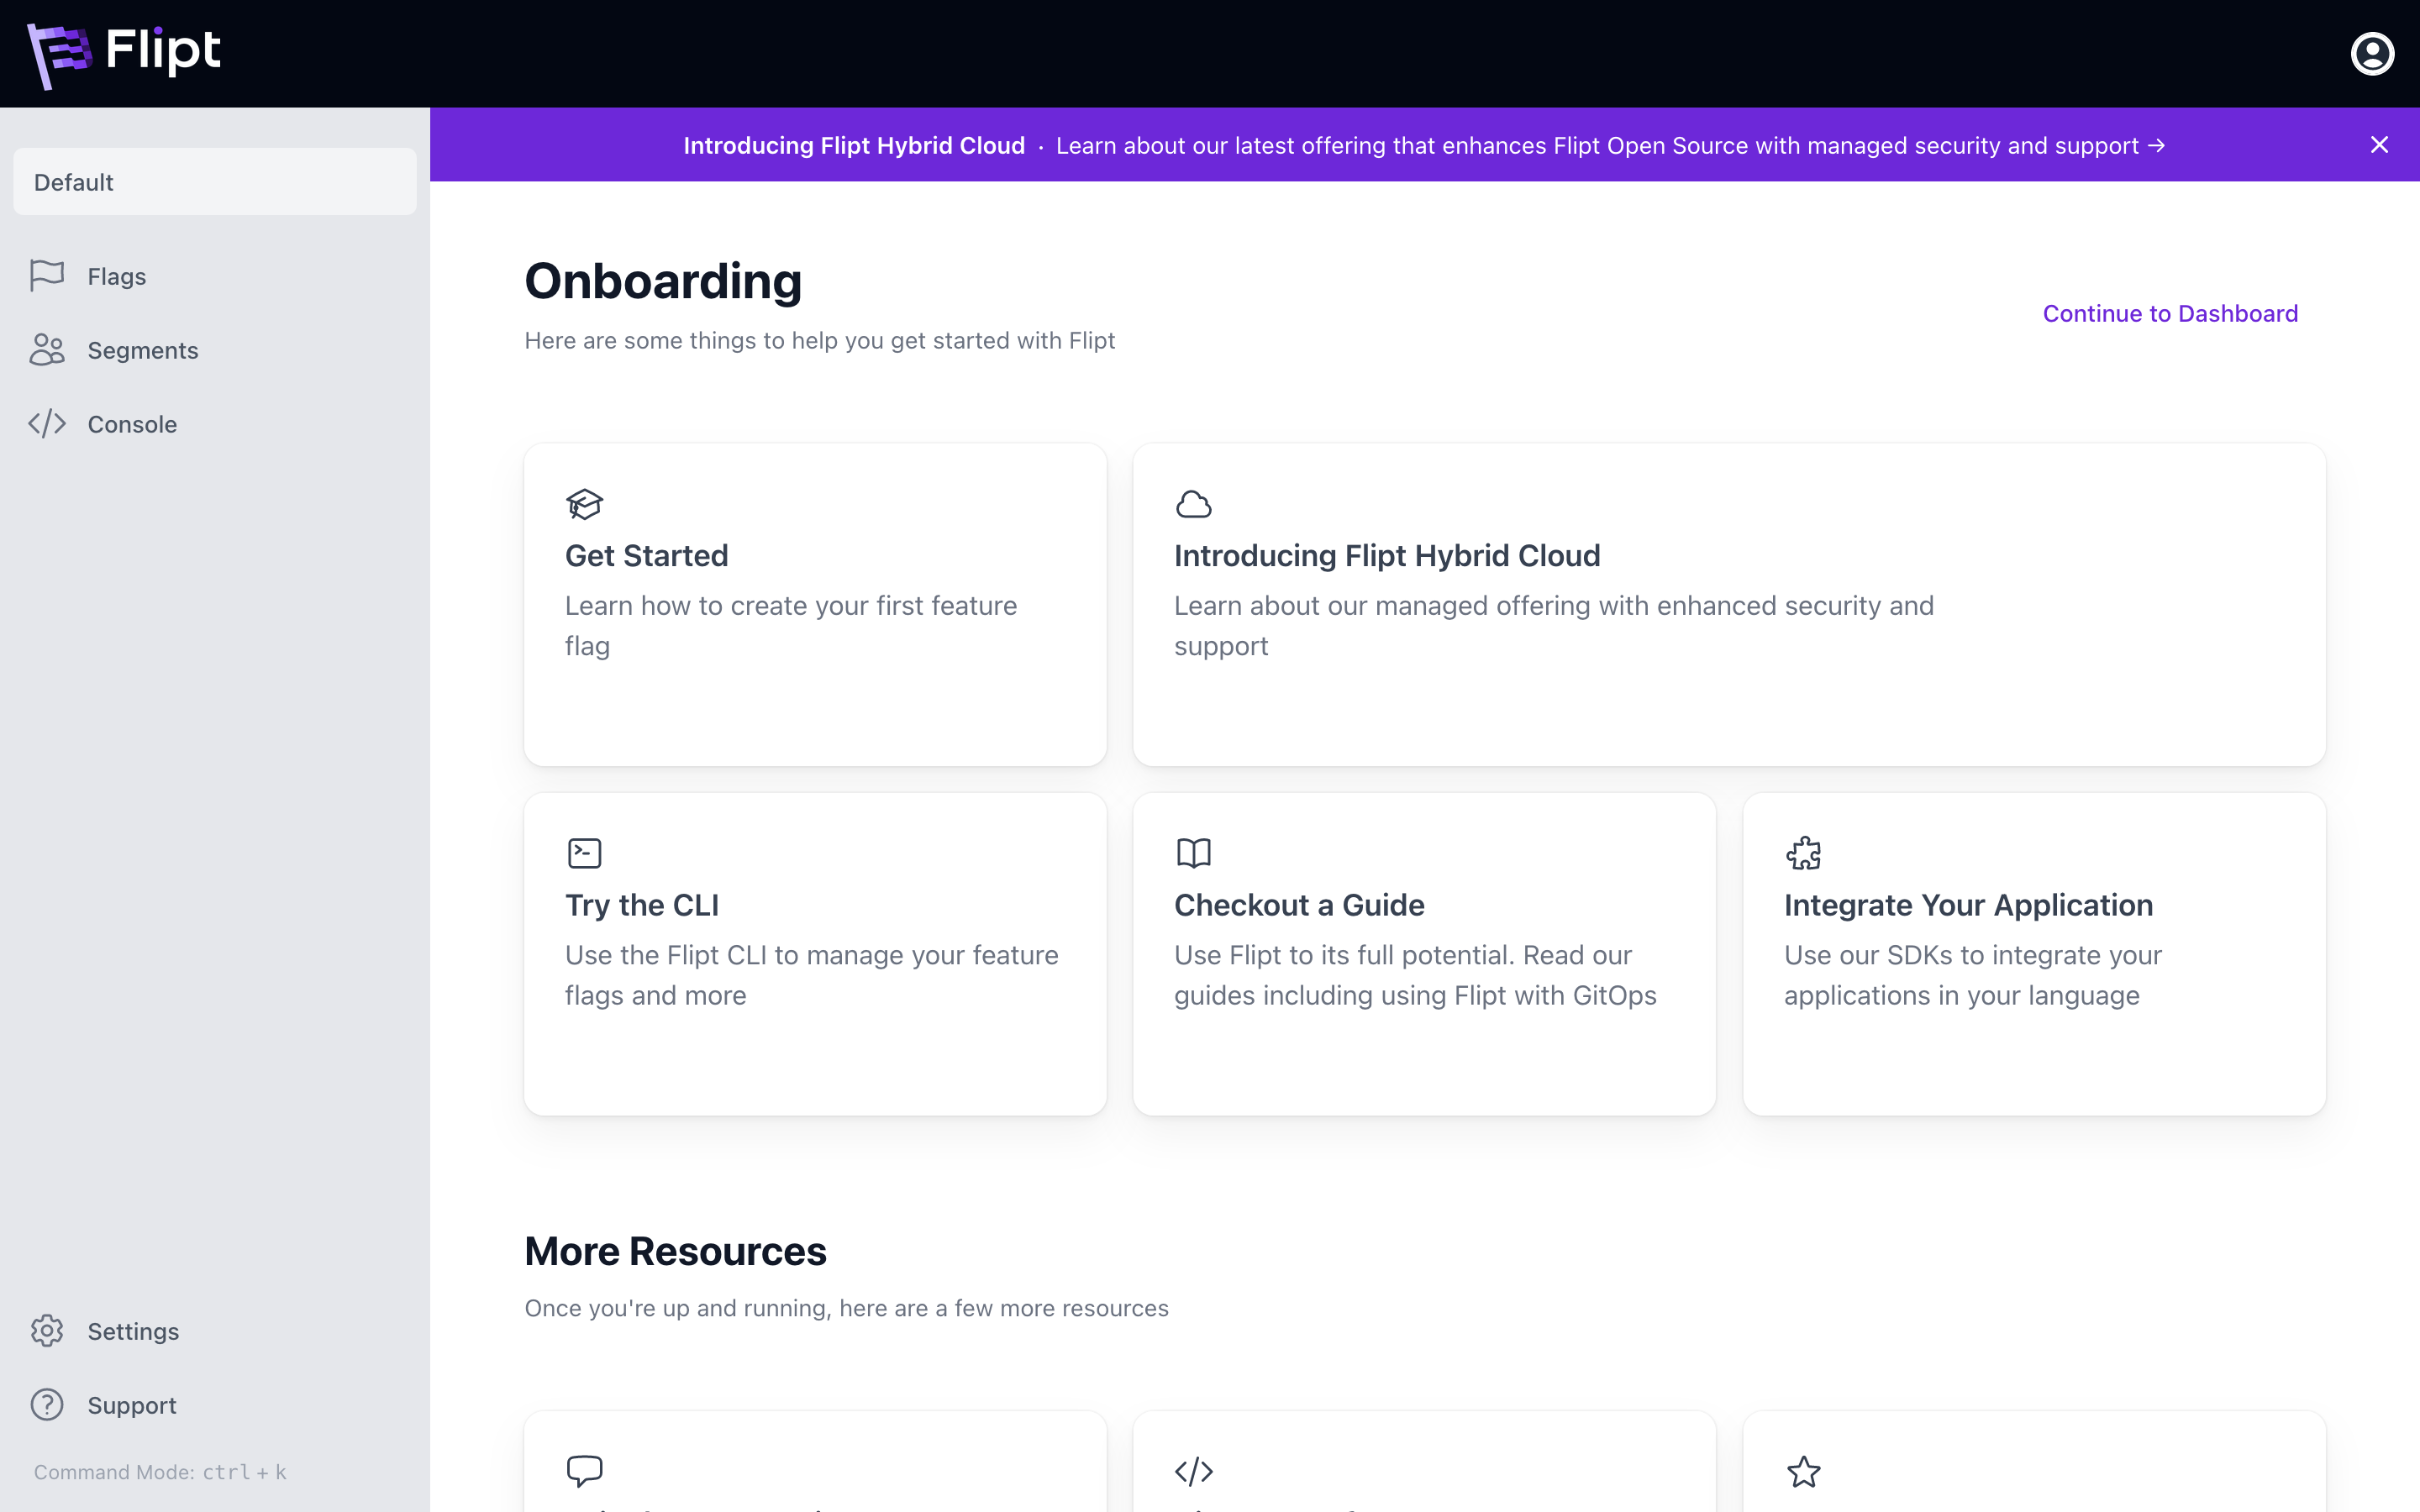
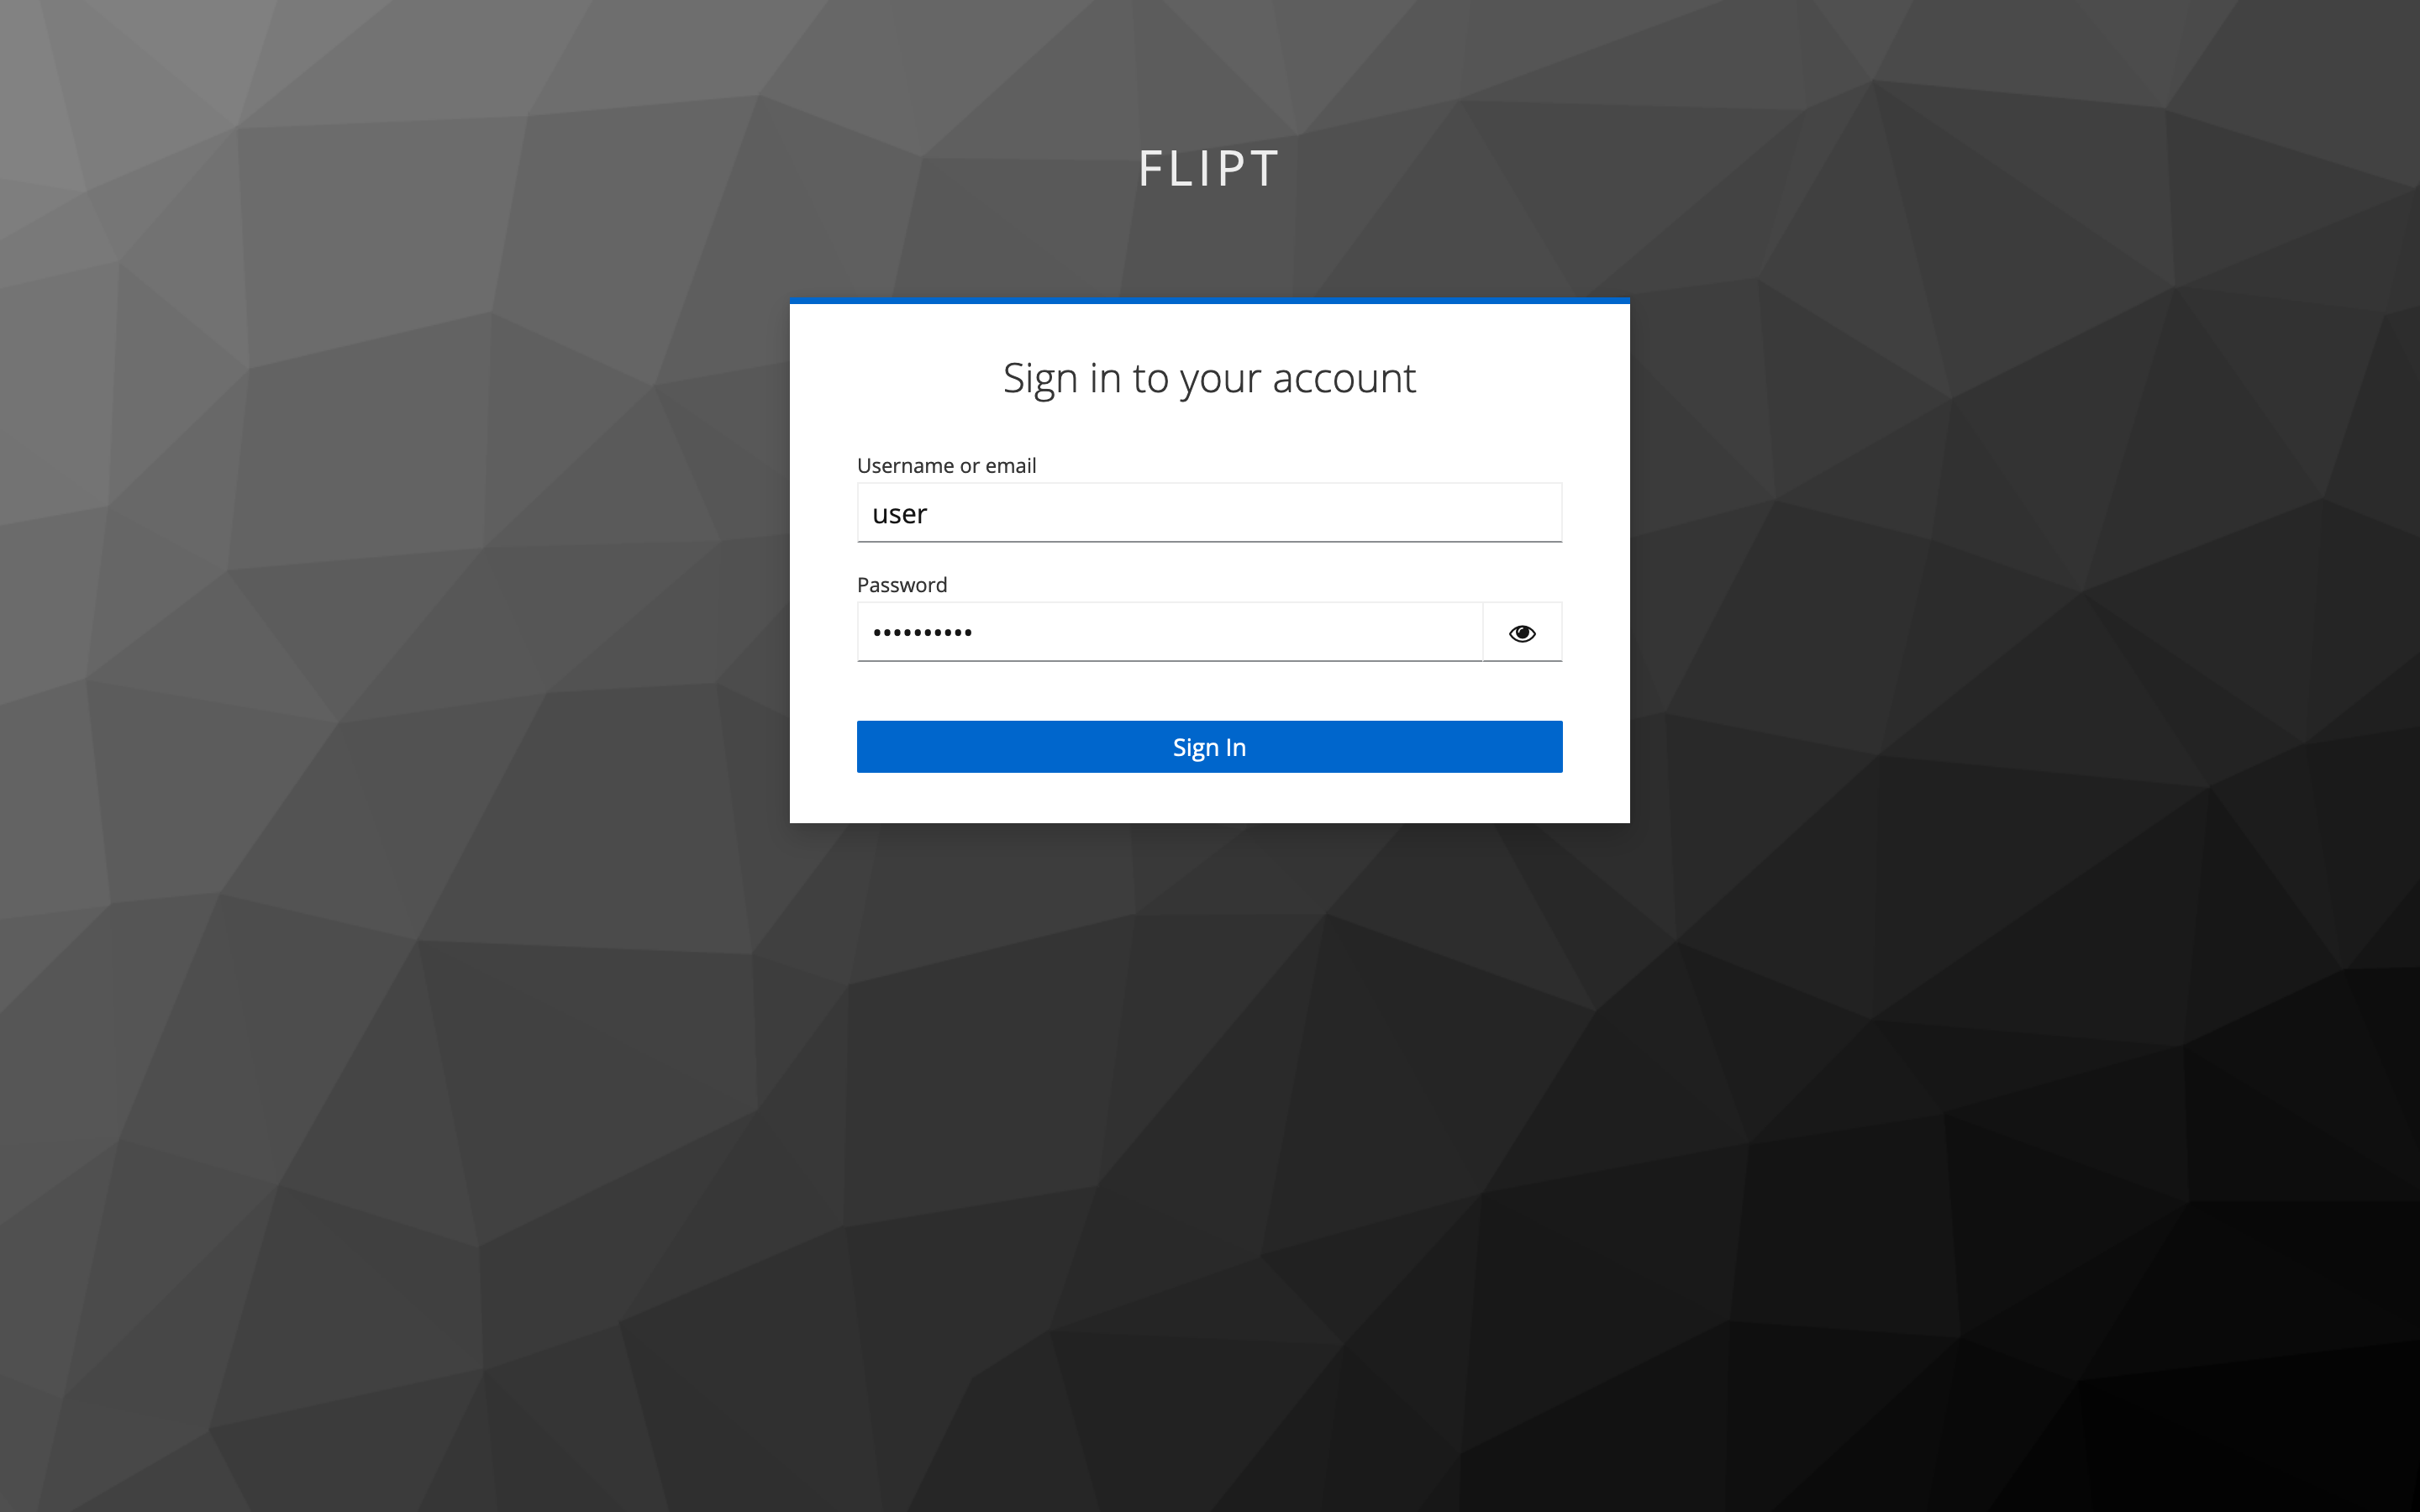 Once you successfully authenticate with the username/password you created earlier, you should return to Flipt and be logged in.
 ## Conclusion
🎉 Congratulations, you've successfully run Flipt and enabled login with Keycloak as the OIDC provider.
Many of the same production considerations from the [Login With Google guide](/v1/guides/operation/authentication/login-with-google) apply here. You should follow the same steps to secure your Flipt instance and ensure that only authorized users can access it.
Next, you might want to consider enabling authorization and setting up policies to control who can access what in Flipt. You can learn more about this in the [Role-Based Access Control with Keycloak guide](/v1/guides/operation/authorization/rbac-with-keycloak).
## Conclusion
🎉 Congratulations, you've successfully run Flipt and enabled login with Keycloak as the OIDC provider.
Many of the same production considerations from the [Login With Google guide](/v1/guides/operation/authentication/login-with-google) apply here. You should follow the same steps to secure your Flipt instance and ensure that only authorized users can access it.
Next, you might want to consider enabling authorization and setting up policies to control who can access what in Flipt. You can learn more about this in the [Role-Based Access Control with Keycloak guide](/v1/guides/operation/authorization/rbac-with-keycloak).